This article will take you through the process of managing your columns in your register on the Phinity Platform
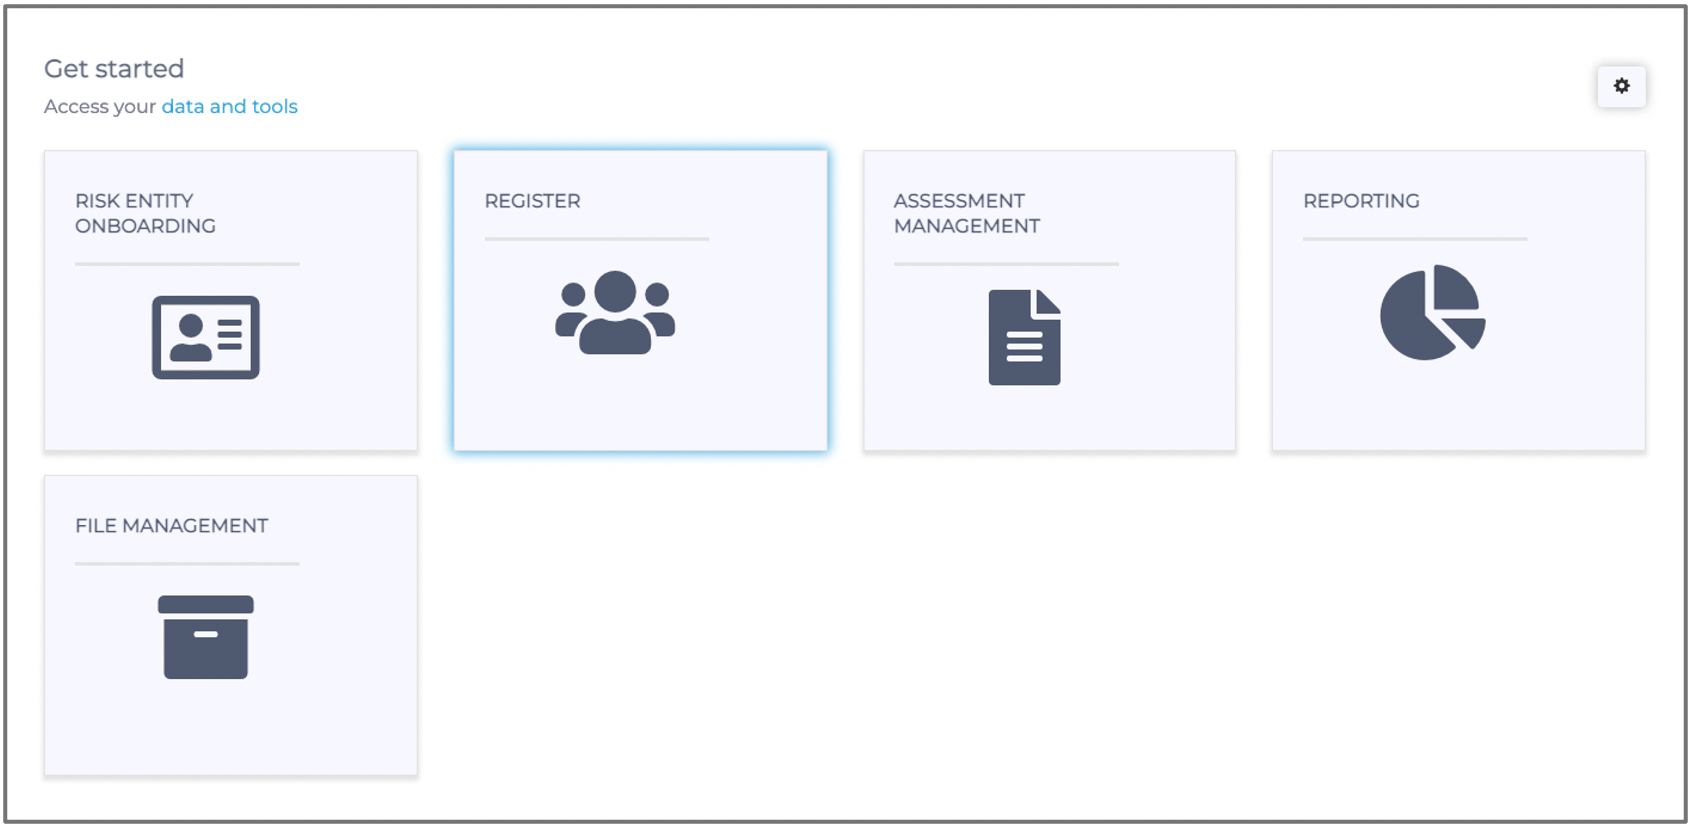
On the Welcome page of any Phinity Solution, navigate to the ‘Register’ as shown in the below screenshot:
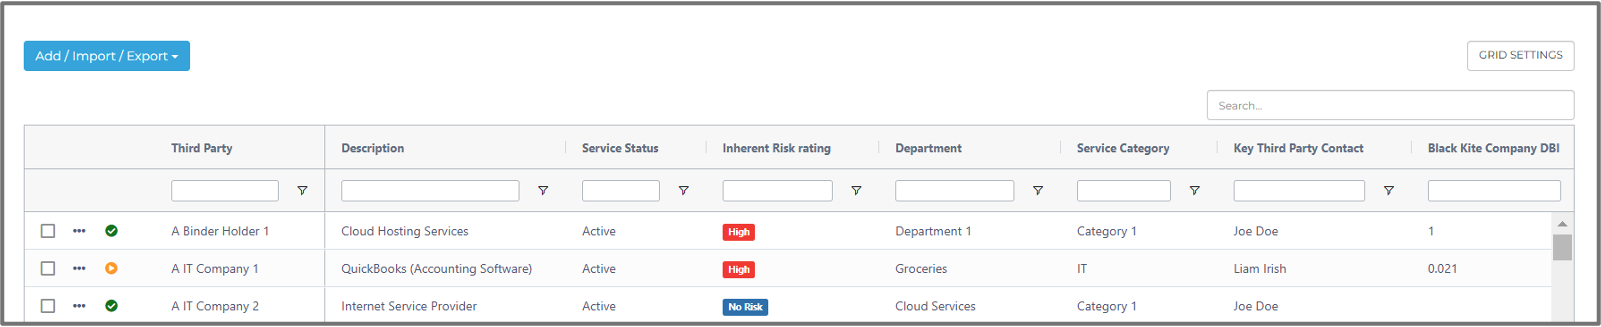
The Third-Party Register allows you to enter, store and manage all relevant information about your business’ third parties. The type of information stored is customisable. However, there are some mandatory fields that you need to complete (e.g., Third-Party Name, Start Date, etc.).
From the “Third Party Register” page, a user can:
- Manage your column view in the register.
The ‘Grid Settings’ option enables you to select, deselect and order which columns you want to be visible on the “Register” page.

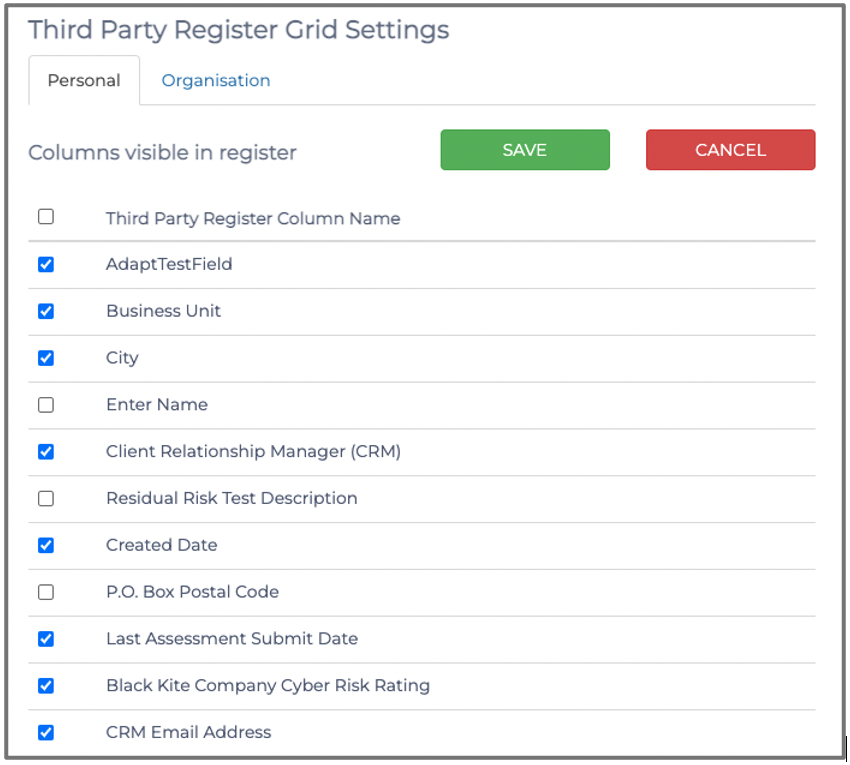
If a column (e.g., business unit) is selected, it will appear in the Third-Party register. If a column (e.g., business unit) is not selected, it will be hidden and not appear in the Third-Party register. You can drag and drop the register fields’ order in the grid settings, which will re-arrange the column order of the Third-Party register.

When you amend the register fields under the ‘Personal’ tab of the grid settings, you will only change how you view the Third-Party register. However, changing the column order or hiding fields under the ‘Organisation’ tab will change the Register view for all users.
Please note: Changes to the ‘Organisation’ tab will overwrite the changes made by individuals to their ‘Personal’ tab. Only an Administrator can make changes to the ‘Organisation’ tab.
Kindly contact support@phinityrisk.com for any additional assistance required.