This article will take you through the process of setting up role-based access (RBA) for edit responses on the assessment responses page.
On the welcome page, navigate to the control panel by clicking on the cogwheel button in the top right, as seen in the screenshot below:

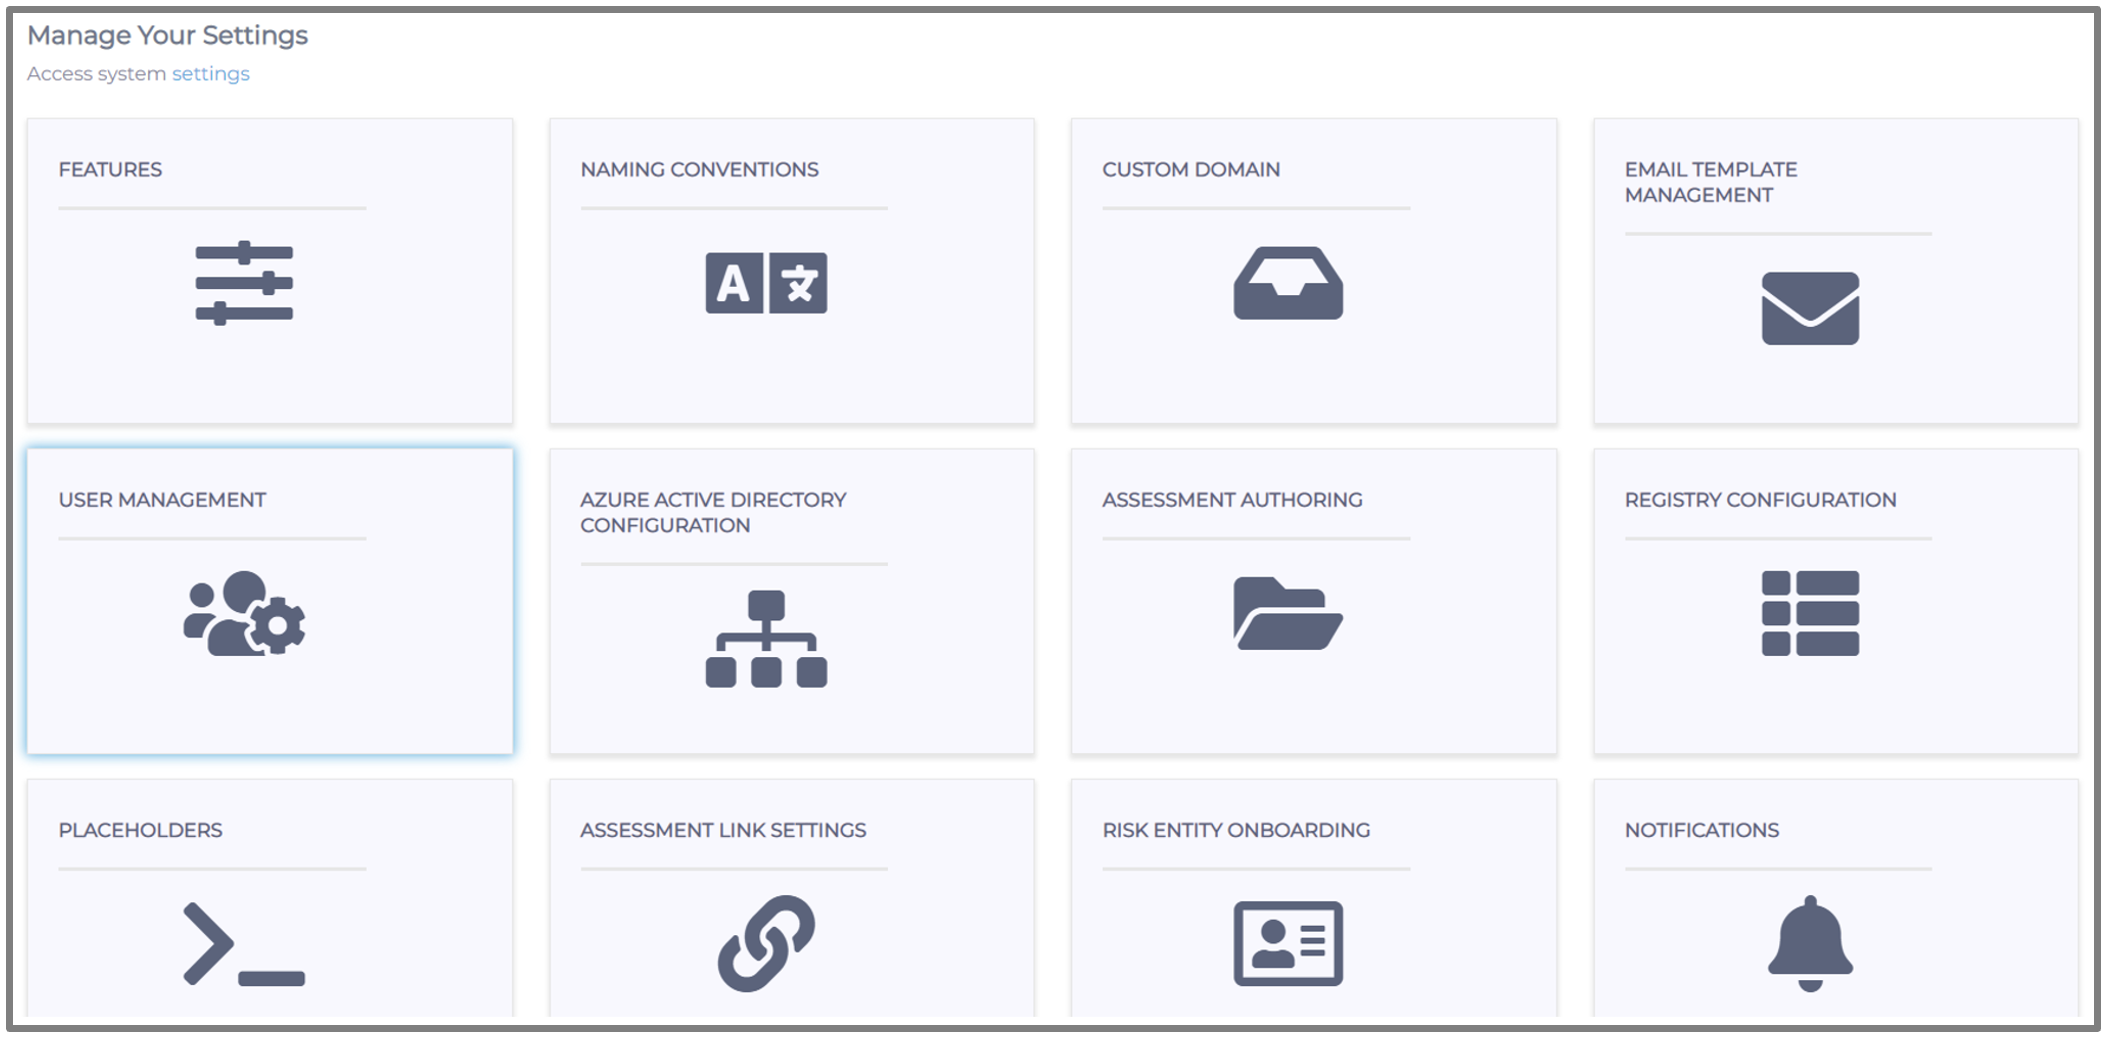
After being navigated to the control panel, click on the "User Management" tile, as seen in the screenshot below:
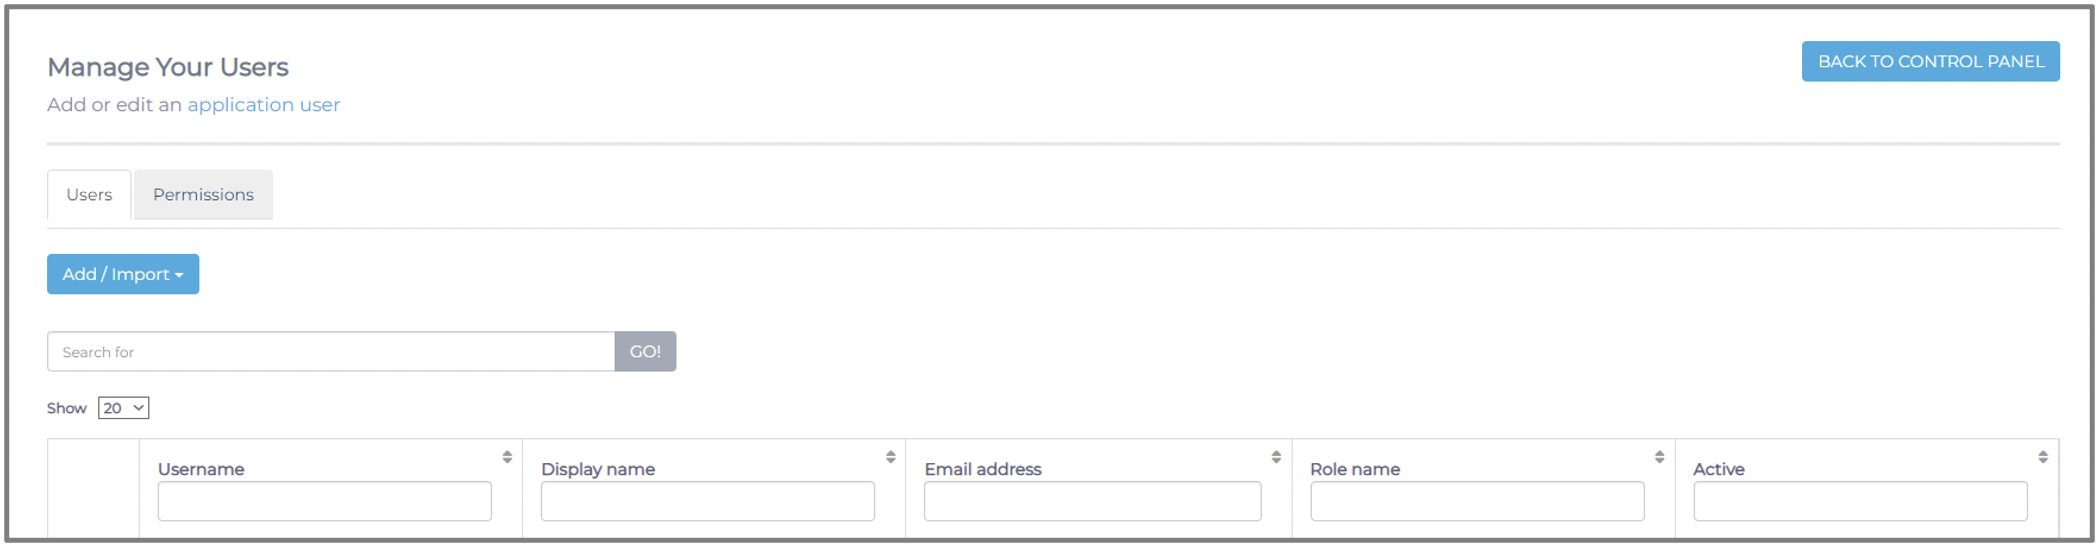
After being navigated to the User Register, click on the "Permissions" tab, and you will be navigated to the Permissions page, as seen in the screenshot below:
After being navigated to the Permissions page, you will be presented with the screenshot below:
In the left panel, you have your different roles, where you can create new roles or update existing ones. In the middle panel, you have all the users where you can directly change their roles. And in the right panel, you have all the permissions that can be set for each individual role.
To enable or disable the 'Edit Responses' on the assessment responses page, choose the role in the left panel that you want to set the permission for by clicking on it. All the permissions will update accordingly in the right panel. Then you have to set the permission for that responses by toggling the "Edit responses" switch on or off, as seen in the screenshot below. Scroll down in the permissions panel to find the permission.

As seen in the screenshot above, the "Reviewer" role has been selected in the left panel, and in the Permissions panel on the right, the "Responses" permission has been enabled for the assessment responses page. This means that for this role, the "Edit Responses" checkbox will be enabled on the assessment responses page.
To see if it is active and working, you will have to log in to an account with the role that you changed the permissions on.
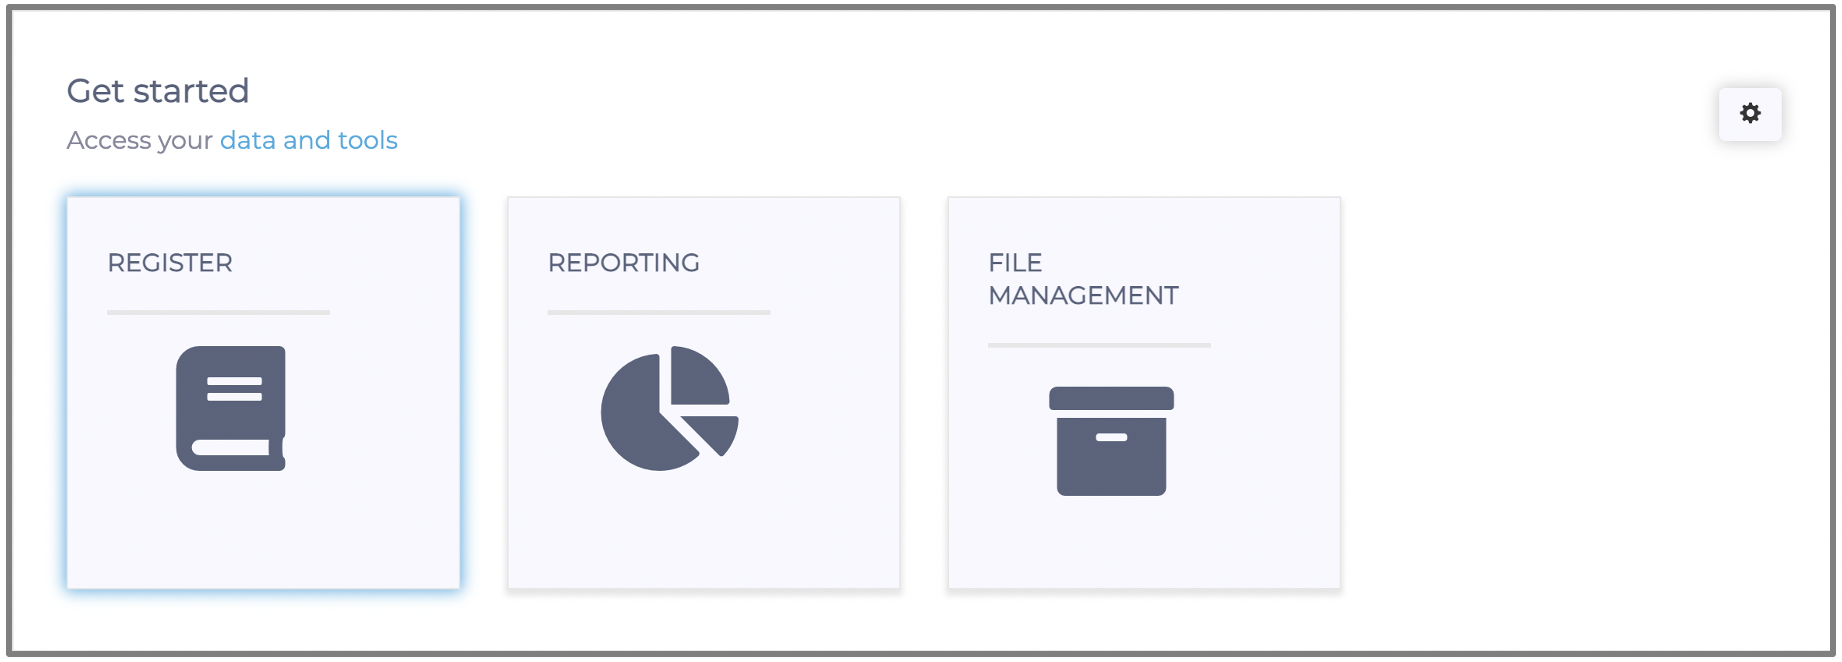
Starting from the "Welcome Page", click on the "Register" tile as seen in the screenshot below:
After being navigated, click on the Risk log item that you would like to edit the responses in, and then click on the "View Risk Item Responses" button as seen in the screenshot below: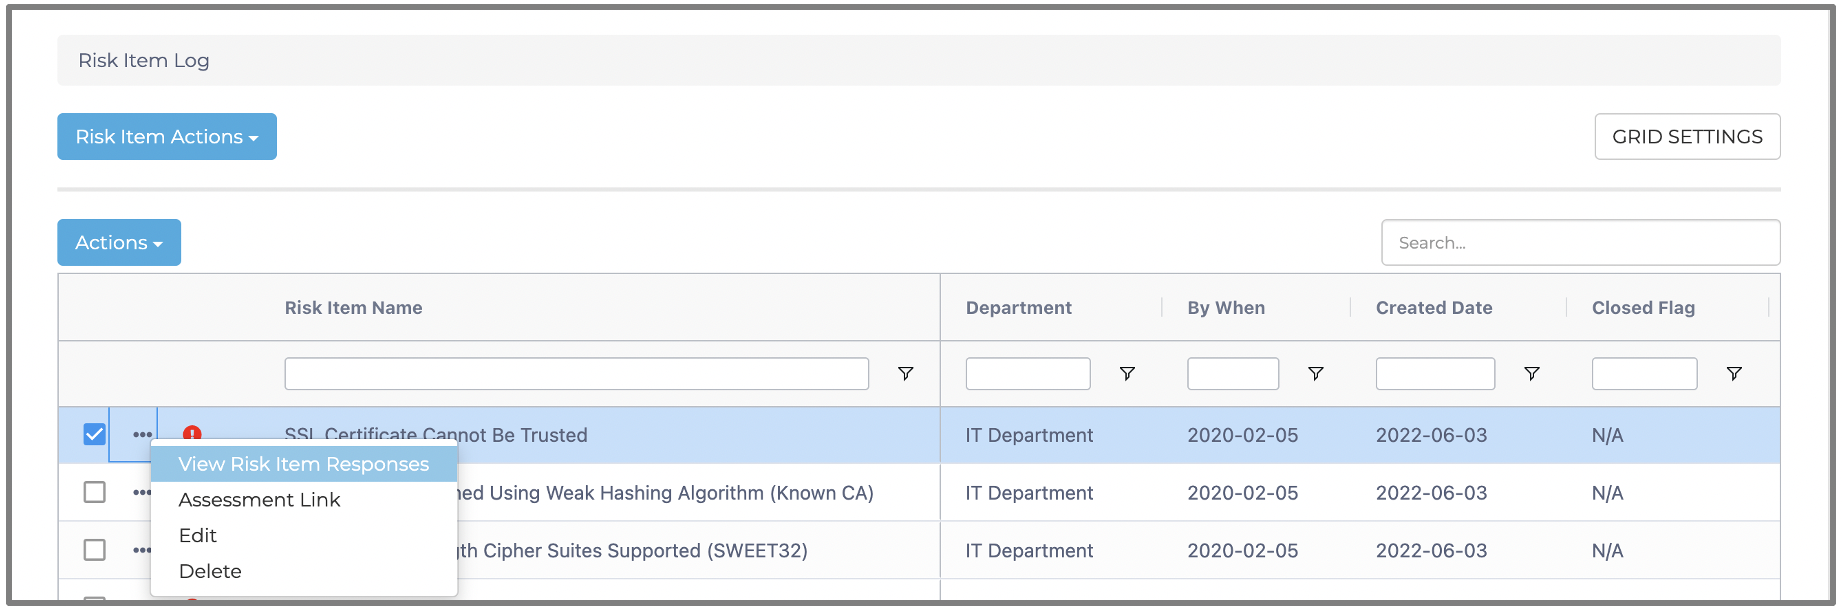
You will then be navigated to the assessment responses page view as seen in the screenshot below:
You will click on the cogwheel button next to the response you would like to edit, and a little drop-down will appear with the "Edit Response" button as shown in the screenshot above.
The "Edit Response" button will give you the ability to edit your assessments responses as shown in the screenshot below:

Once you have amended your responses you will click on the "Save" button in the top right corner. Your edited response will now show as per the screenshot below:

You have now successfully edited your assessment responses according to your liking.
Kindly contact support@phinityrisk.com for any additional assistance required.