How to design and configure email templates with your unique logo, questionnaire links and context
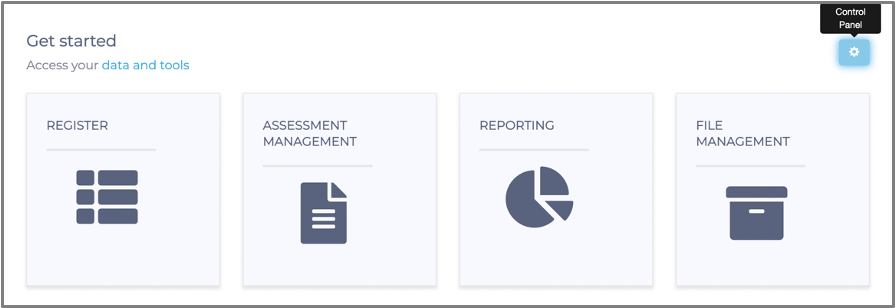
On the Welcome page of any Phinity Solution, navigate to the Control Panel as shown in the below screenshot:
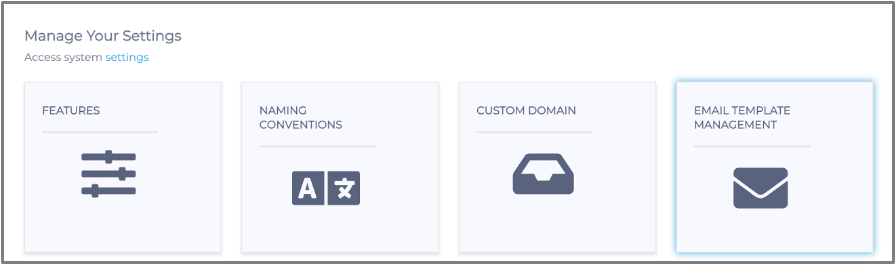
Once in this view, navigate to the 'Email Template Management' screen as per the below screenshot:
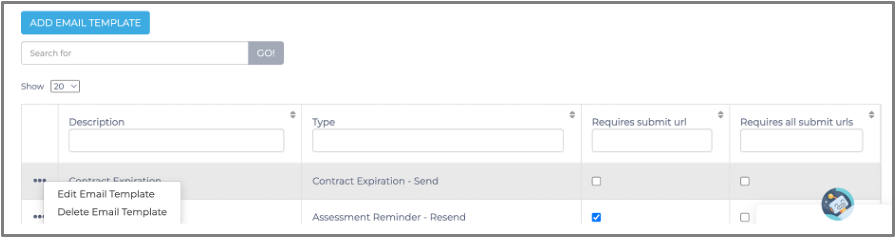
You can view the 'Email Template Management' screen in the below screenshot. Select the ellipses to edit, delete an existing template or 'Add New Template':
Once you click on the add email template button, the following page will appear.
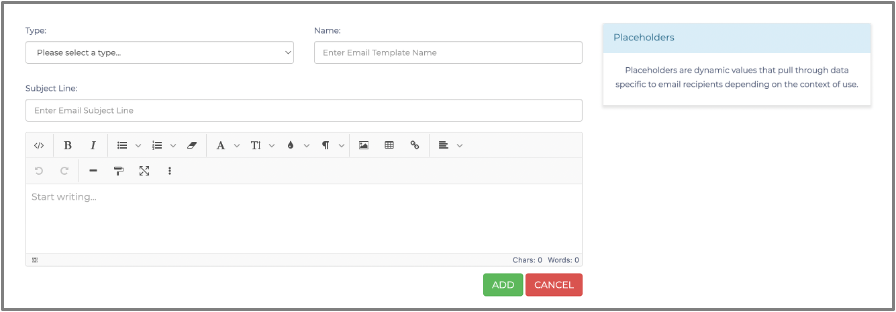
When creating your email template, you will have to specify the email template's action and description/name. An action would be the type of email.

Once you have determined the action and given the email template a description, you can create the email subject and body.
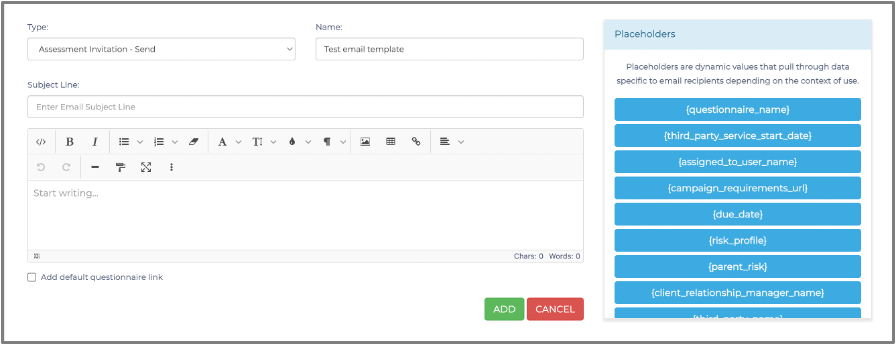
It is important to note that you must insert a logo at the top of the email template should you wish for a company logo to be displayed. You can insert a logo by using the Image button below.
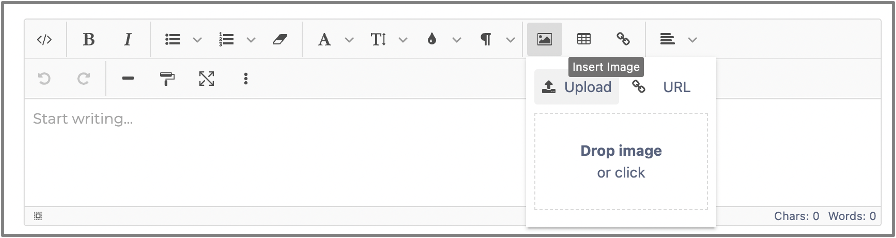
You can either upload an image from your computer or you can use make use of the URL option. In our example we will make use of the uploading option.
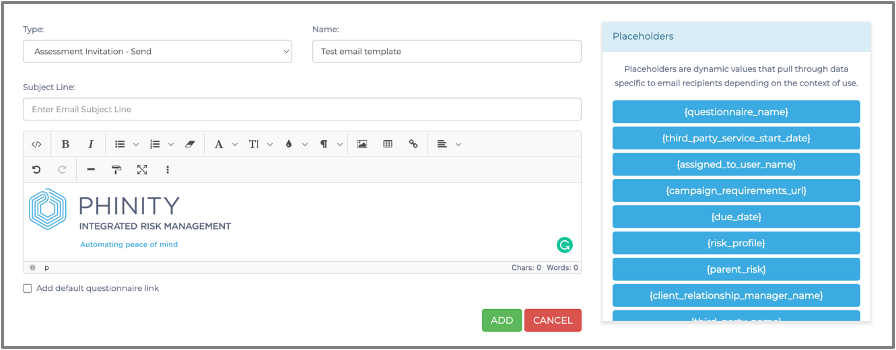
You will have to size your logo before uploading it. An excellent tool to use would be the crop function of Paint 3D on Windows devices. Resizing an image is very simple. Open it in any image editor software. Navigate to any settings related to cropping and set the desired width or height, and save. The image is then ready for uploading.it will appear in the body of the email as shown below.
You will click on the 'Drop image or click' option and choose your logo on your computer. Once you have added your preferred logo.
The image should now be inside the email template editor. You can proceed to add content to the body as you please.
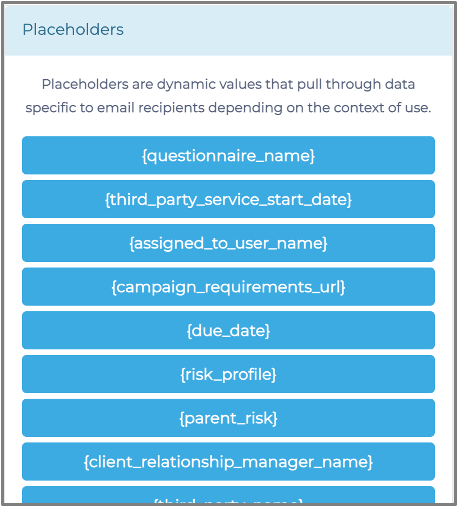
Placeholder values
Placeholder values are variables that you can use to dynamically pull through data to the emails based on the recipient. You can add these placeholders simply by clicking on the desired placeholder value on the right side of the screen.
The placeholder will appear where your cursor was last used inside the email template editor.
Email template questionnaire links
There are two methods to add a questionnaire link in the email template. Method one would be to select the checkbox at the bottom of the email template. This process would add a default URL at the bottom of your email. Which looks like the following:

Method two would be for you to add your URL with modifications as you like. You can do this by adding a hyperlink to the email template.
You will first have to specify some text in the email template that you wish to turn into a link.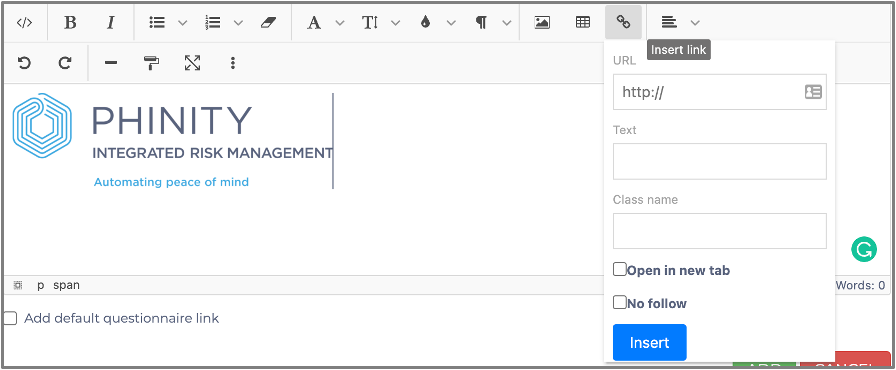
You must add the URL placeholder in the text field above. The system generates the link whenever you send out emails or scheduled reminder emails.
Once you are happy with your email template, you can press Add!

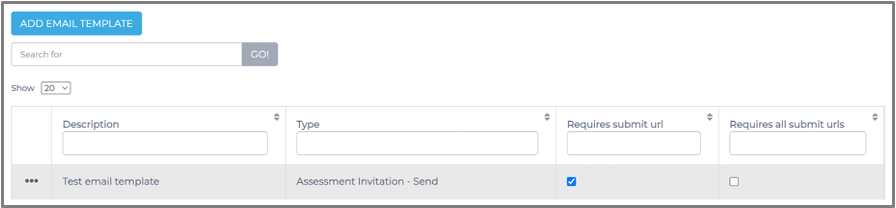
Your email template will now appear in the email template register.
Your created email templates will show up under the workflows section of the assessment authoring.

Kindly contact support@phinityrisk.com for any additional assistance required.