Create different assessment types, link them to questionnaires and email templates and publish to start using them.
Assessment authoring in the 'Control Panel' allows you to create customised assessment workflows. The assessment authoring screen is where you upload your questionnaires and link them to your custom email templates. The assessment type is what ties your questionnaires, email templates and end-to-end workflow together.
On the Welcome page of any Phinity Solution, navigate to the Control Panel as shown in the below screenshot: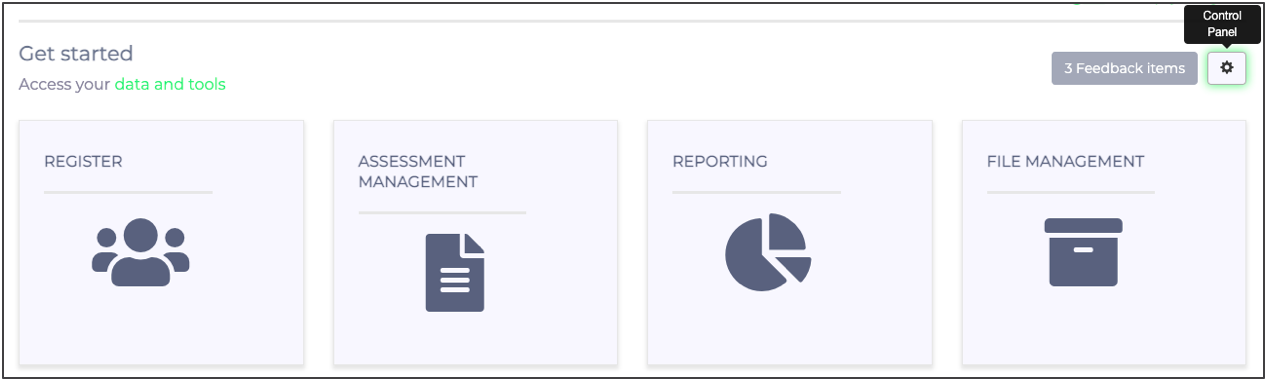
In Control Panel, you should navigate to your Assessments by clicking on 'Assessment Authoring' as shown in the screenshot below: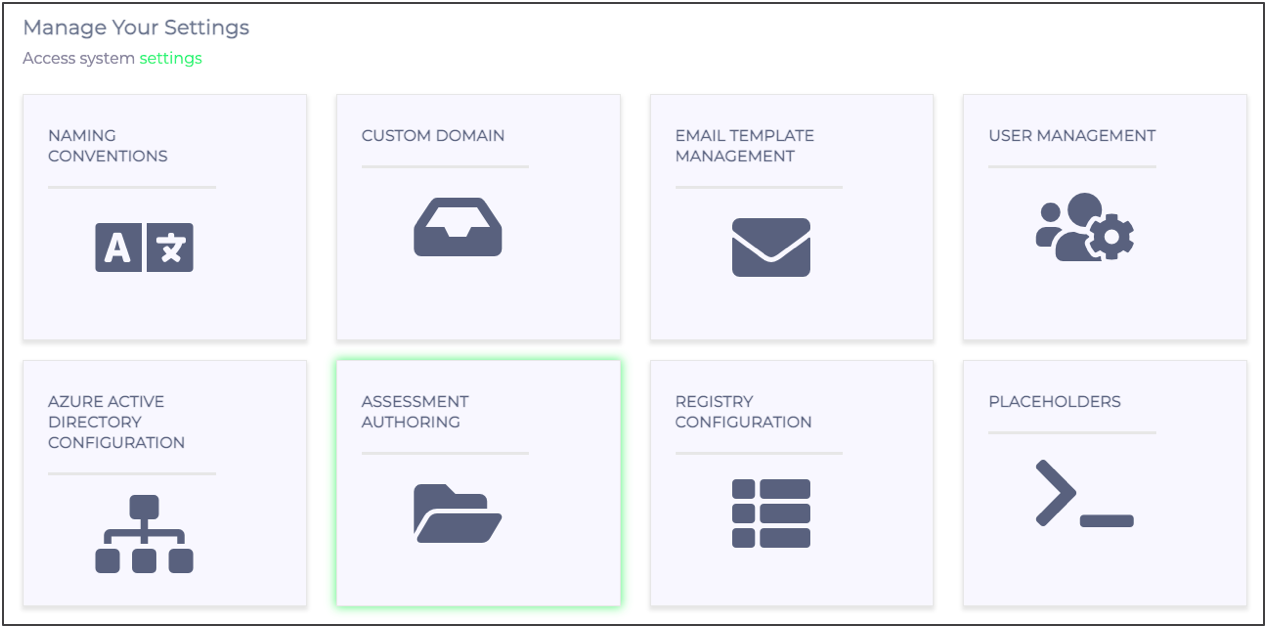
The following screenshot is an example of the assessment authoring screen with several custom assessment types: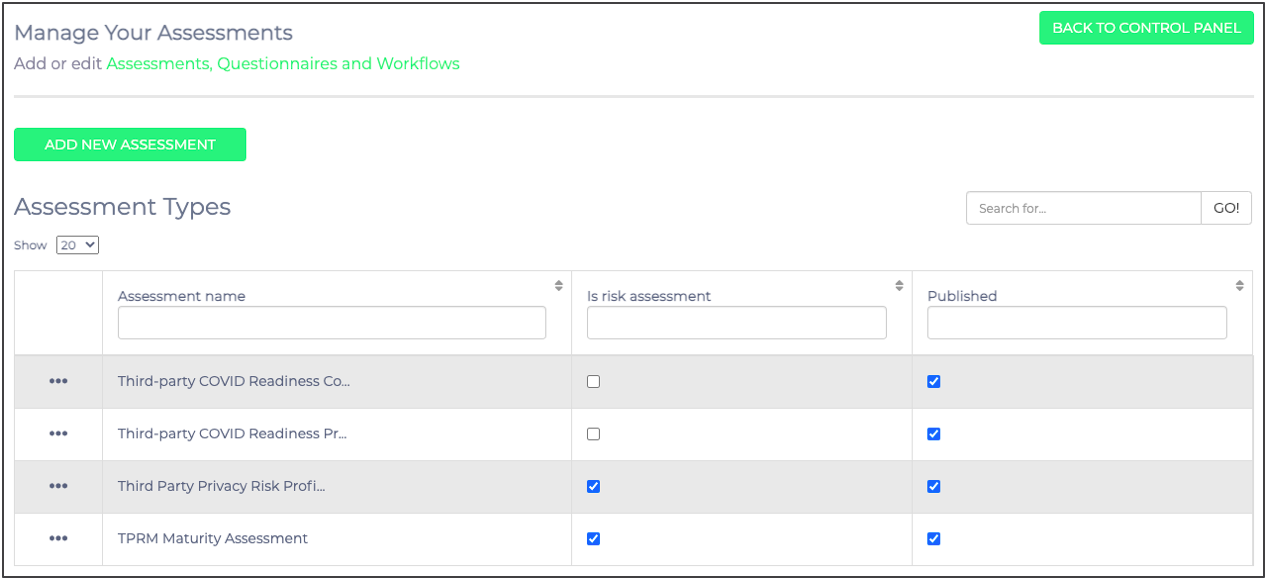
You can publish and unpublish your assessment types in the above view, add new assessments, and configure/edit existing assessments. Shown in the below screenshot are the options available to you for every assessment type: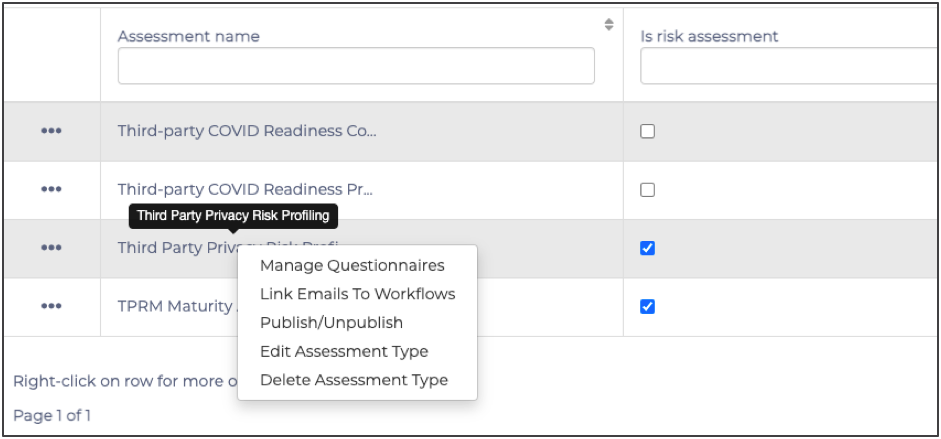
To publish an assessment, you will first need to add and publish your questionnaire. Once you have published the questionnaire, you must link your assessment workflow to the desired email templates. You can only publish your assessment type after completing both of the steps mentioned above.
To add a new assessment type, click on the 'Add New Assessment' button. The following screen will appear: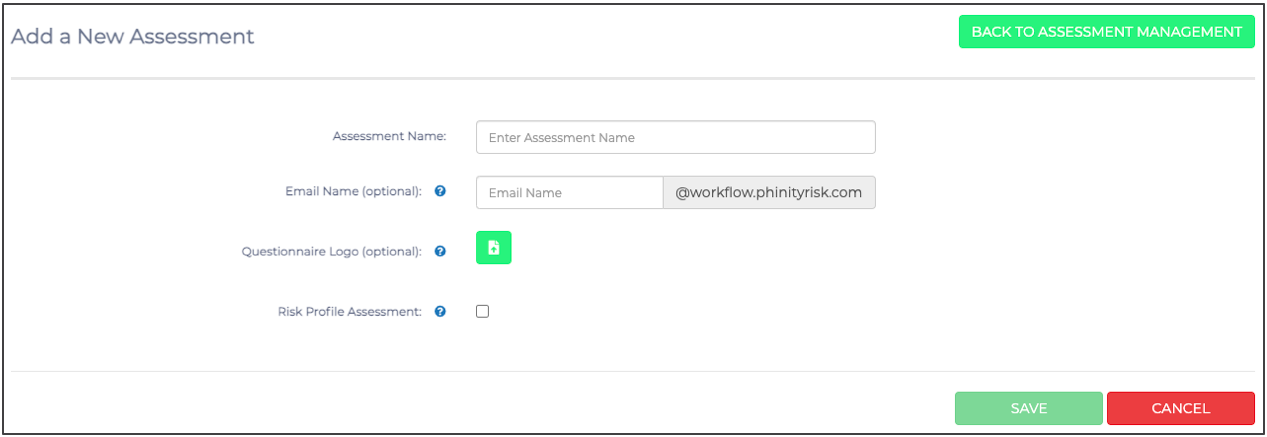
After you complete the details of your assessment, you must click 'Save' to finalise the creation of your new assessment type. The details that you need to complete also include adding your logo and selecting whether it is an inherent risk profile type or a controls assessment.