This article will take you through the process of adding users to your instance in the Phinity platform.
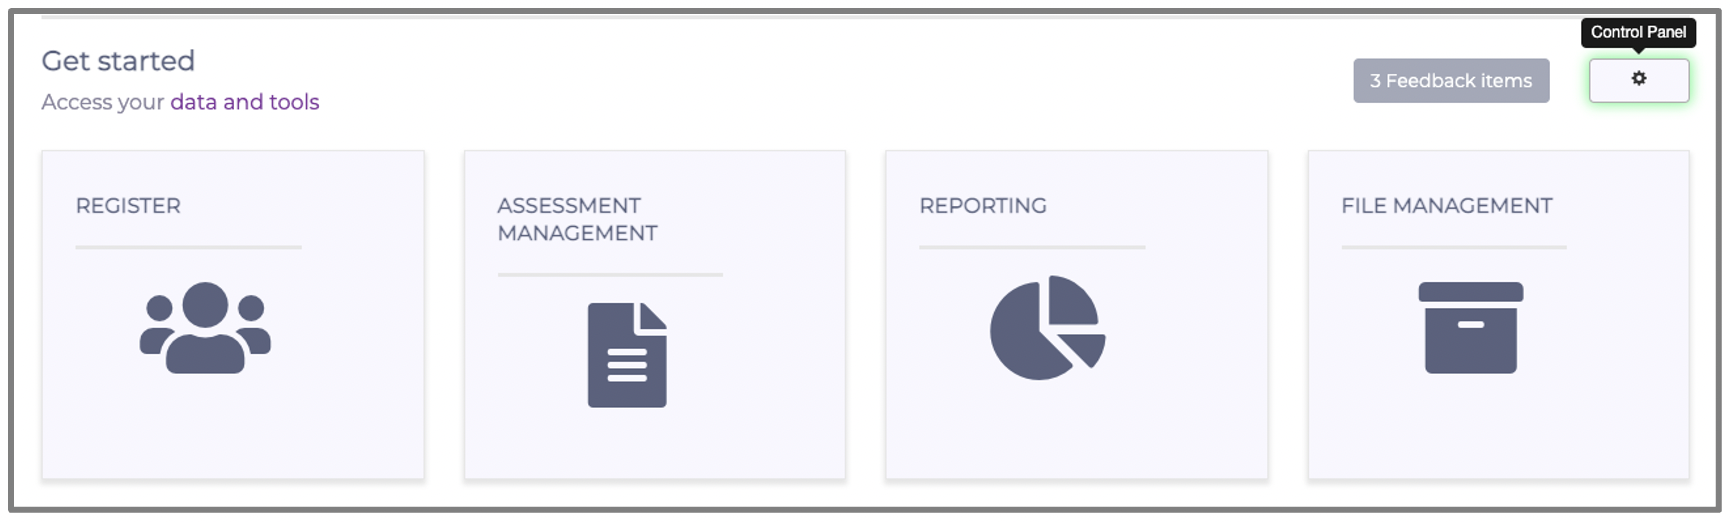
On the Welcome page of any of the Phinity Solutions, navigate to the Control Panel as shown in the below screenshot:
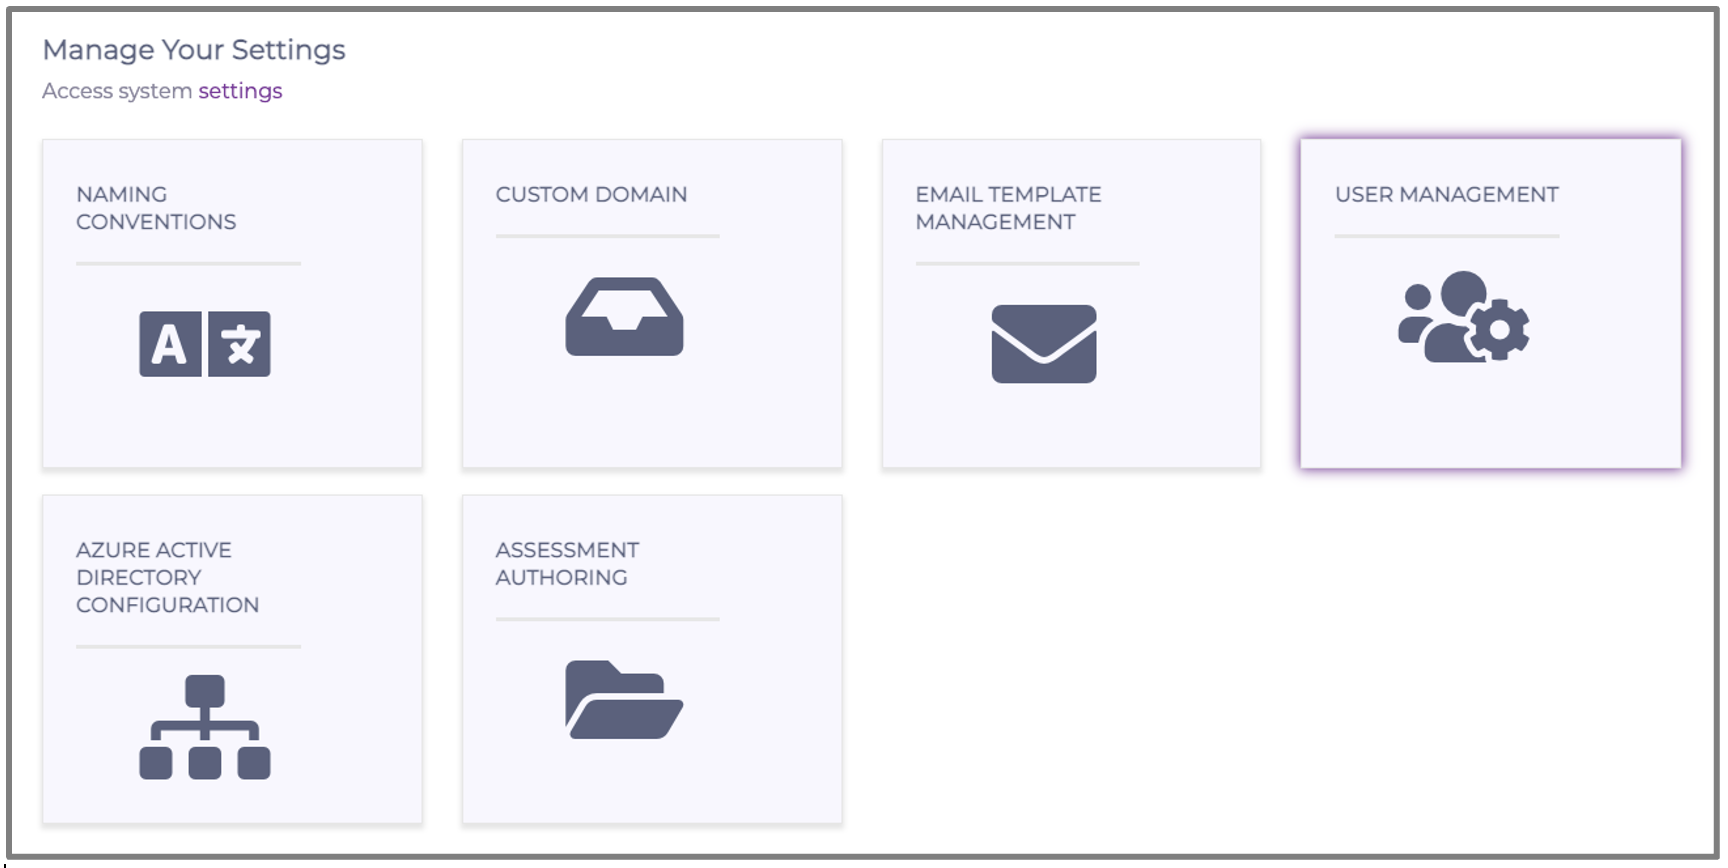
Once in this view, navigate to the 'User Management' screen as per the below screenshot:
Shown in the below screenshot is the 'User Management' screen:
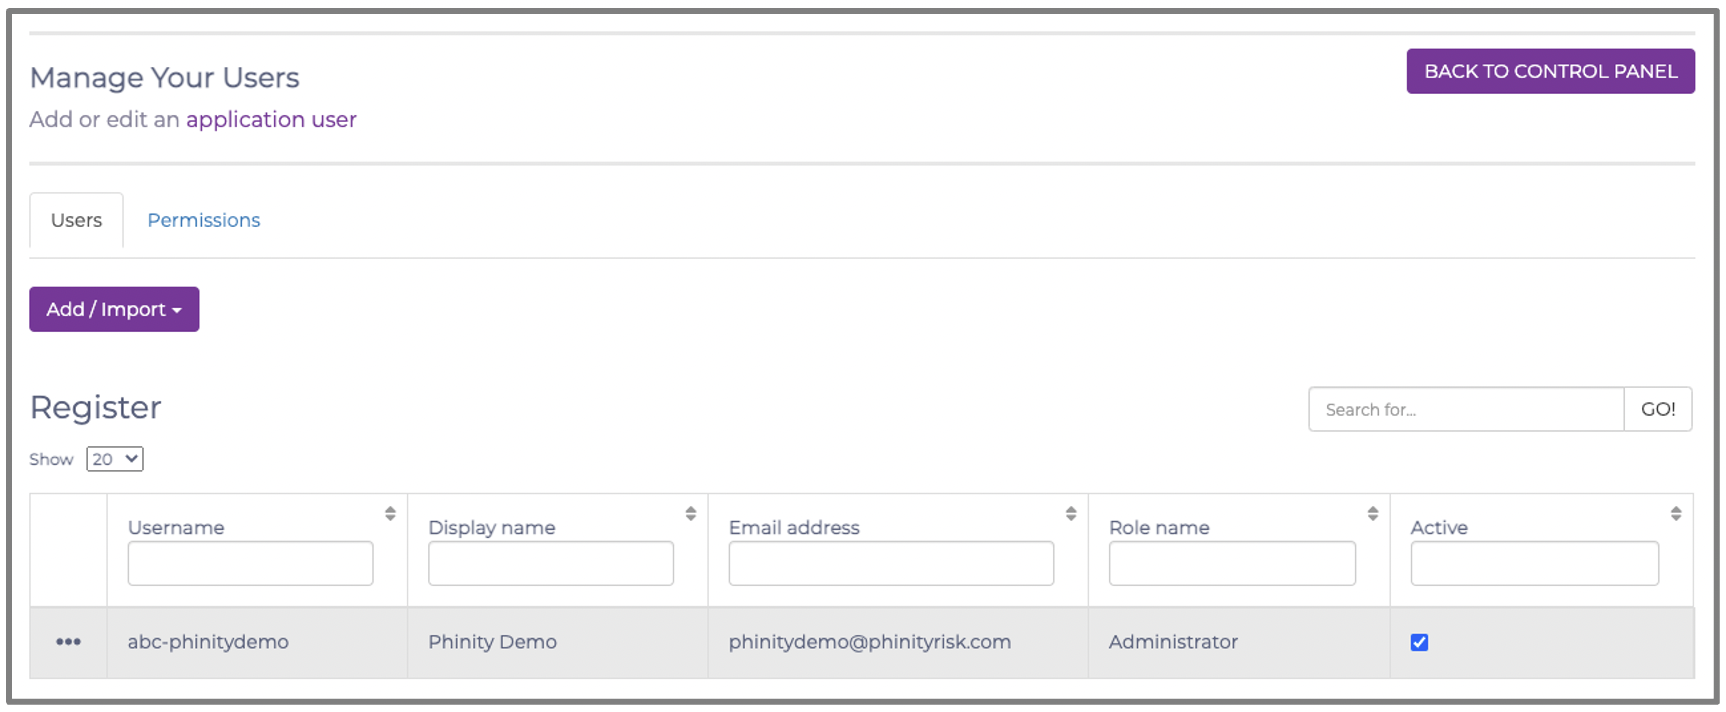
There are several options available to you on how to go about adding new users. Those options are to add a user manually or to import multiple users using the importing template. Shown in the below screenshot are these two options that are available to you:

To add a user manually, click the 'Add User' option. Shown in the below screenshot is the screen for adding a single user:

Suppose the user already exists on the Phinity platform. In that case, you can import the user from a different solution on the platform. Alternatively, you can also add a user from your contact details captured in the solution's risk register.
Finally, to add a user manually, you should click the 'Create a New User' button. The following screen will appear:
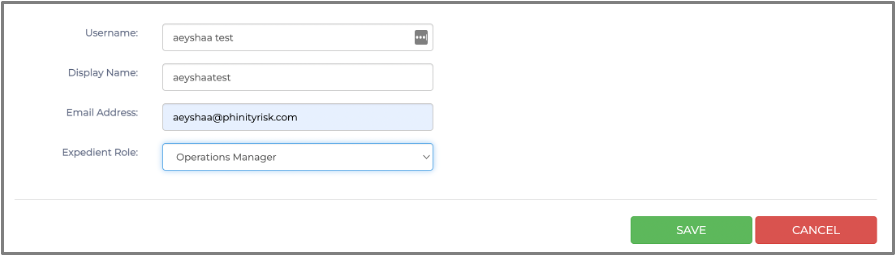
Once you have completed the details, you should click the 'Save' button to finalise the creation of your new user.
You have now successfully added a new user to your instance in the Phinity platform.
Kindly contact support@phinityrisk.com for any additional assistance required.