This article will take you through the process of configuring assessment completion Notifications in the External/Risk Compliance Management solution on the Phinity Platform
To configure the assessment completion notifications, you will navigate to the control panel on the Phinity Platform.
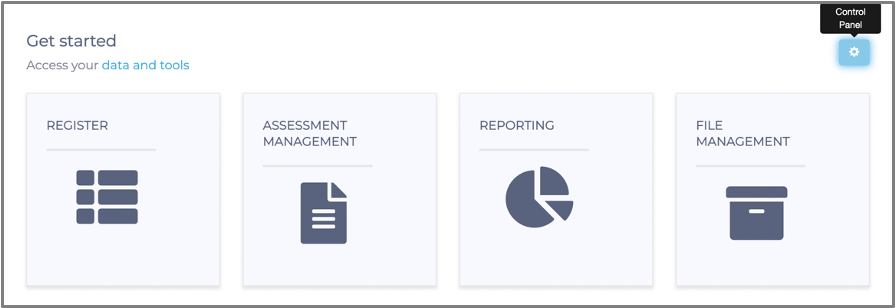
On the Welcome page of any Phinity Solution click on the cogwheel to navigate to the Control Panel as shown in the below screenshot:
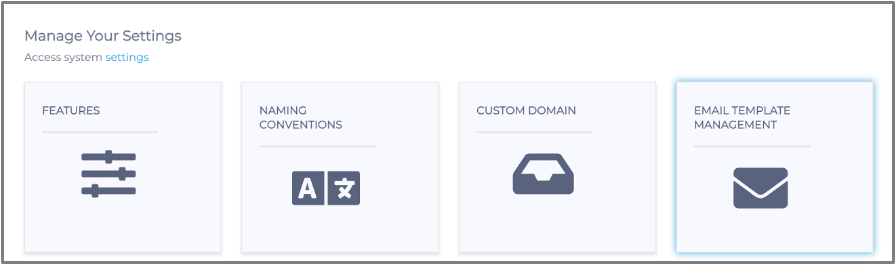
Once in this view, navigate to the 'Email Template Management' tile as per the below screenshot:
Once you have clicked on 'Email Template Management' tile, the following screen will appear: 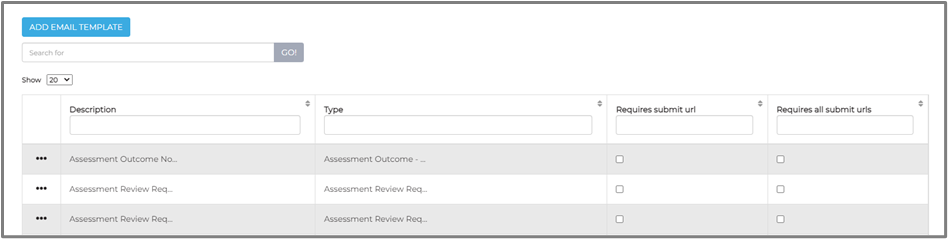
You will then click 'Add Email Template', which will direct you to the following screen below: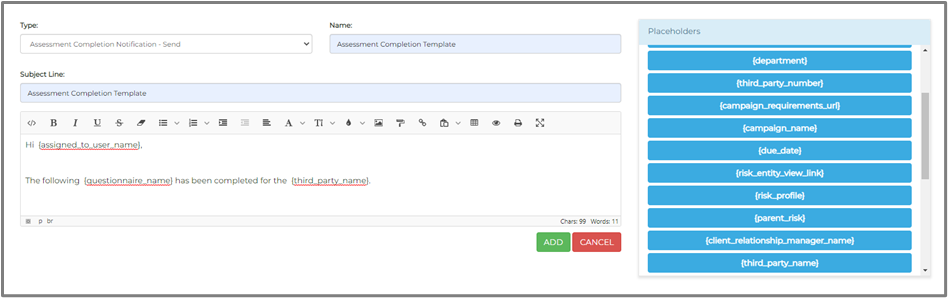
Make sure you choose 'Assessment Completion Notification - Send' in the 'Type' dropdown.
Once you have completed the email template, you will click 'Add' at the bottom right of the screen. You have successfully created the email template for your assessment completion notification.
You will now configure the notifications for the Phinity vendors/third parties.
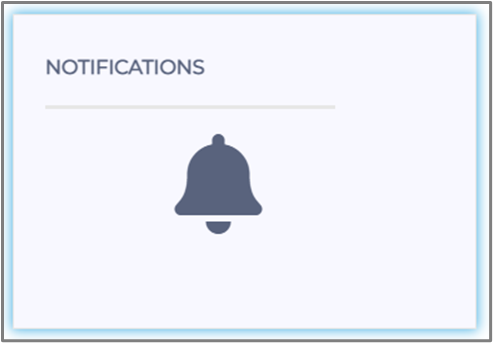
Navigate back to the control panel and click on the 'Notifications' icon highlighted in the below screenshot:
The following screen will appear:
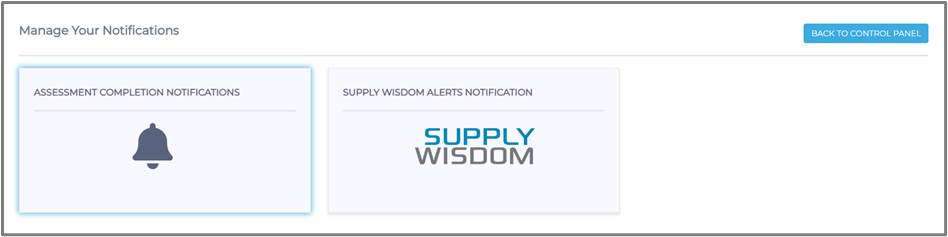
You will click on the 'Assessment Completion Notifications' tile and will be directed to the below screen:

Once you click the 'Add Notification' button, you will be directed to the below screen:
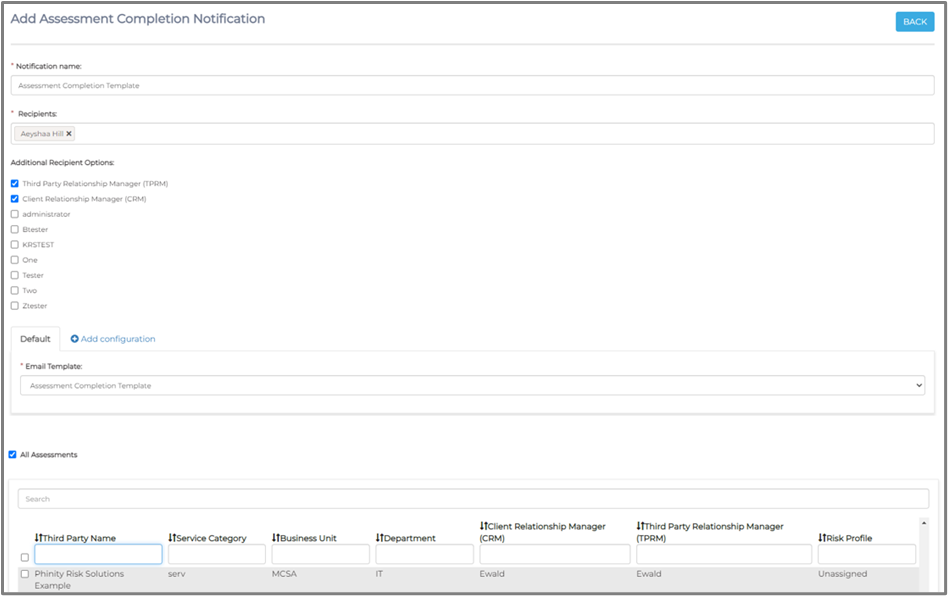
Make sure to tick the checkboxes for the 'Recipients' that will need to receive the email notification. Select the Phinity vendors/third parties (checkboxes) to subscribe to relevant notifications.
Click the 'Save' button to enable the notifications.
You have successfully configured assessment completion notifications to your Phinity vendors/third parties.
Kindly contact support@phinityrisk.com for any additional assistance required.