Add or import all relevant risk remediation management items into the risk item log for treatment tracking and assigning of ownership
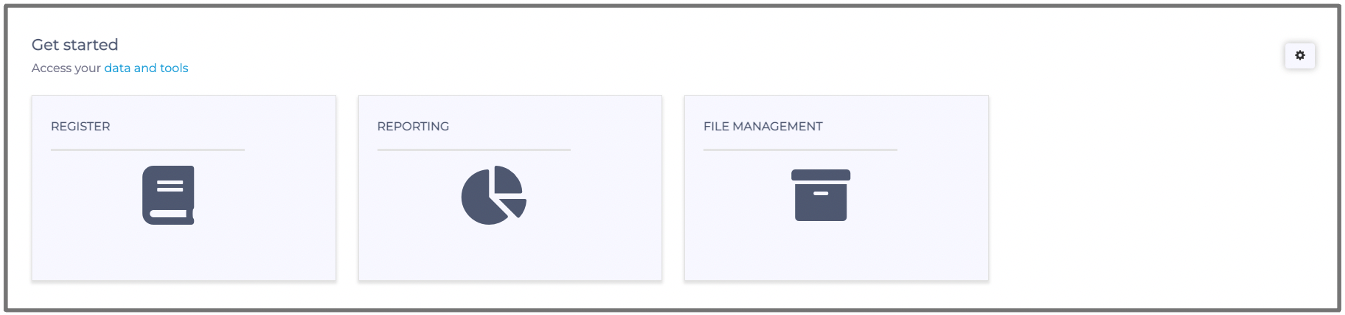
Once you have logged into the Phinity Solution and navigated to the Risk Remediation Management Solution, you will see the following landing page:
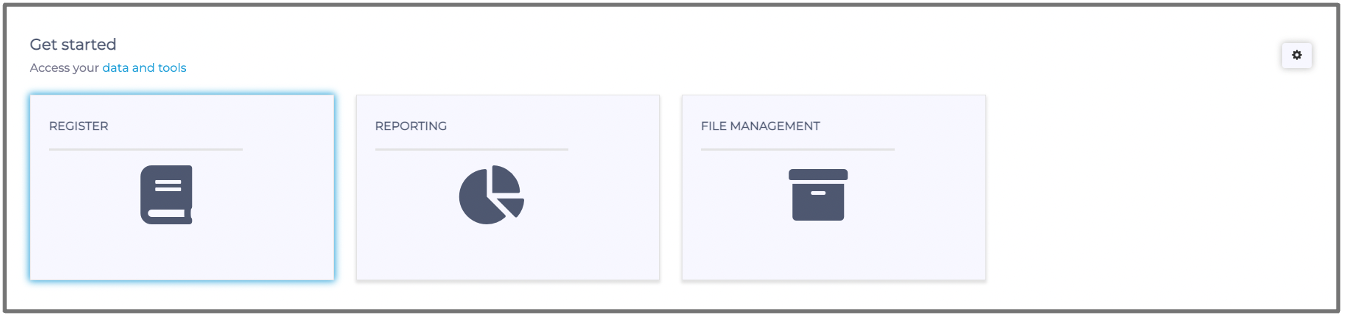
You need to navigate to the Register view to add or import any risk treatment items to the risk log/register. In the below screenshot, you will see the 'Register' icon highlighted:
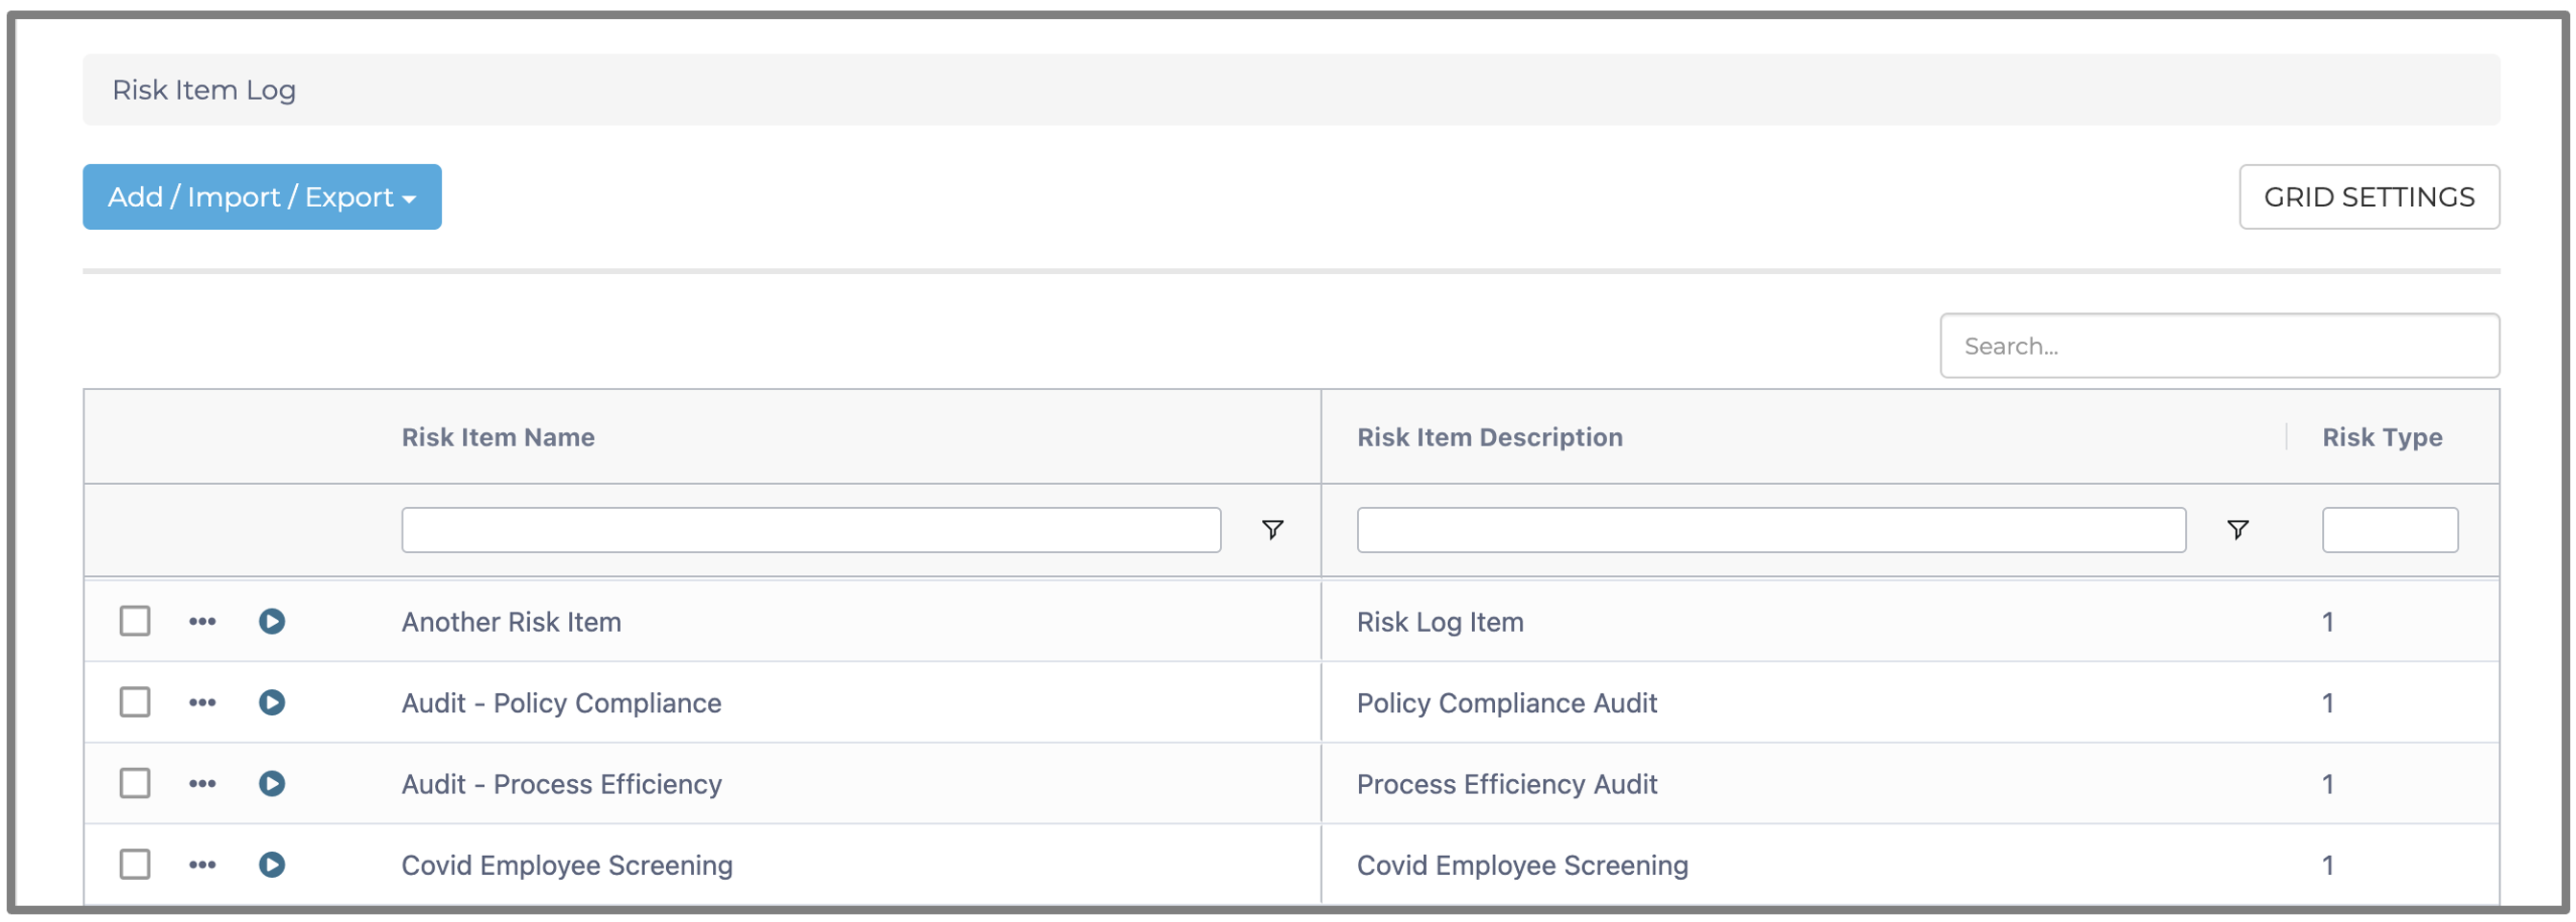
Below is a screenshot example of what the Register might look like after you have already started adding and tracking some risk remediation management items:
To add more, or even your first risk remediation management item, you should click on the 'Add/Import/Export' button at the top left of the screen, as shown in the below screenshot:
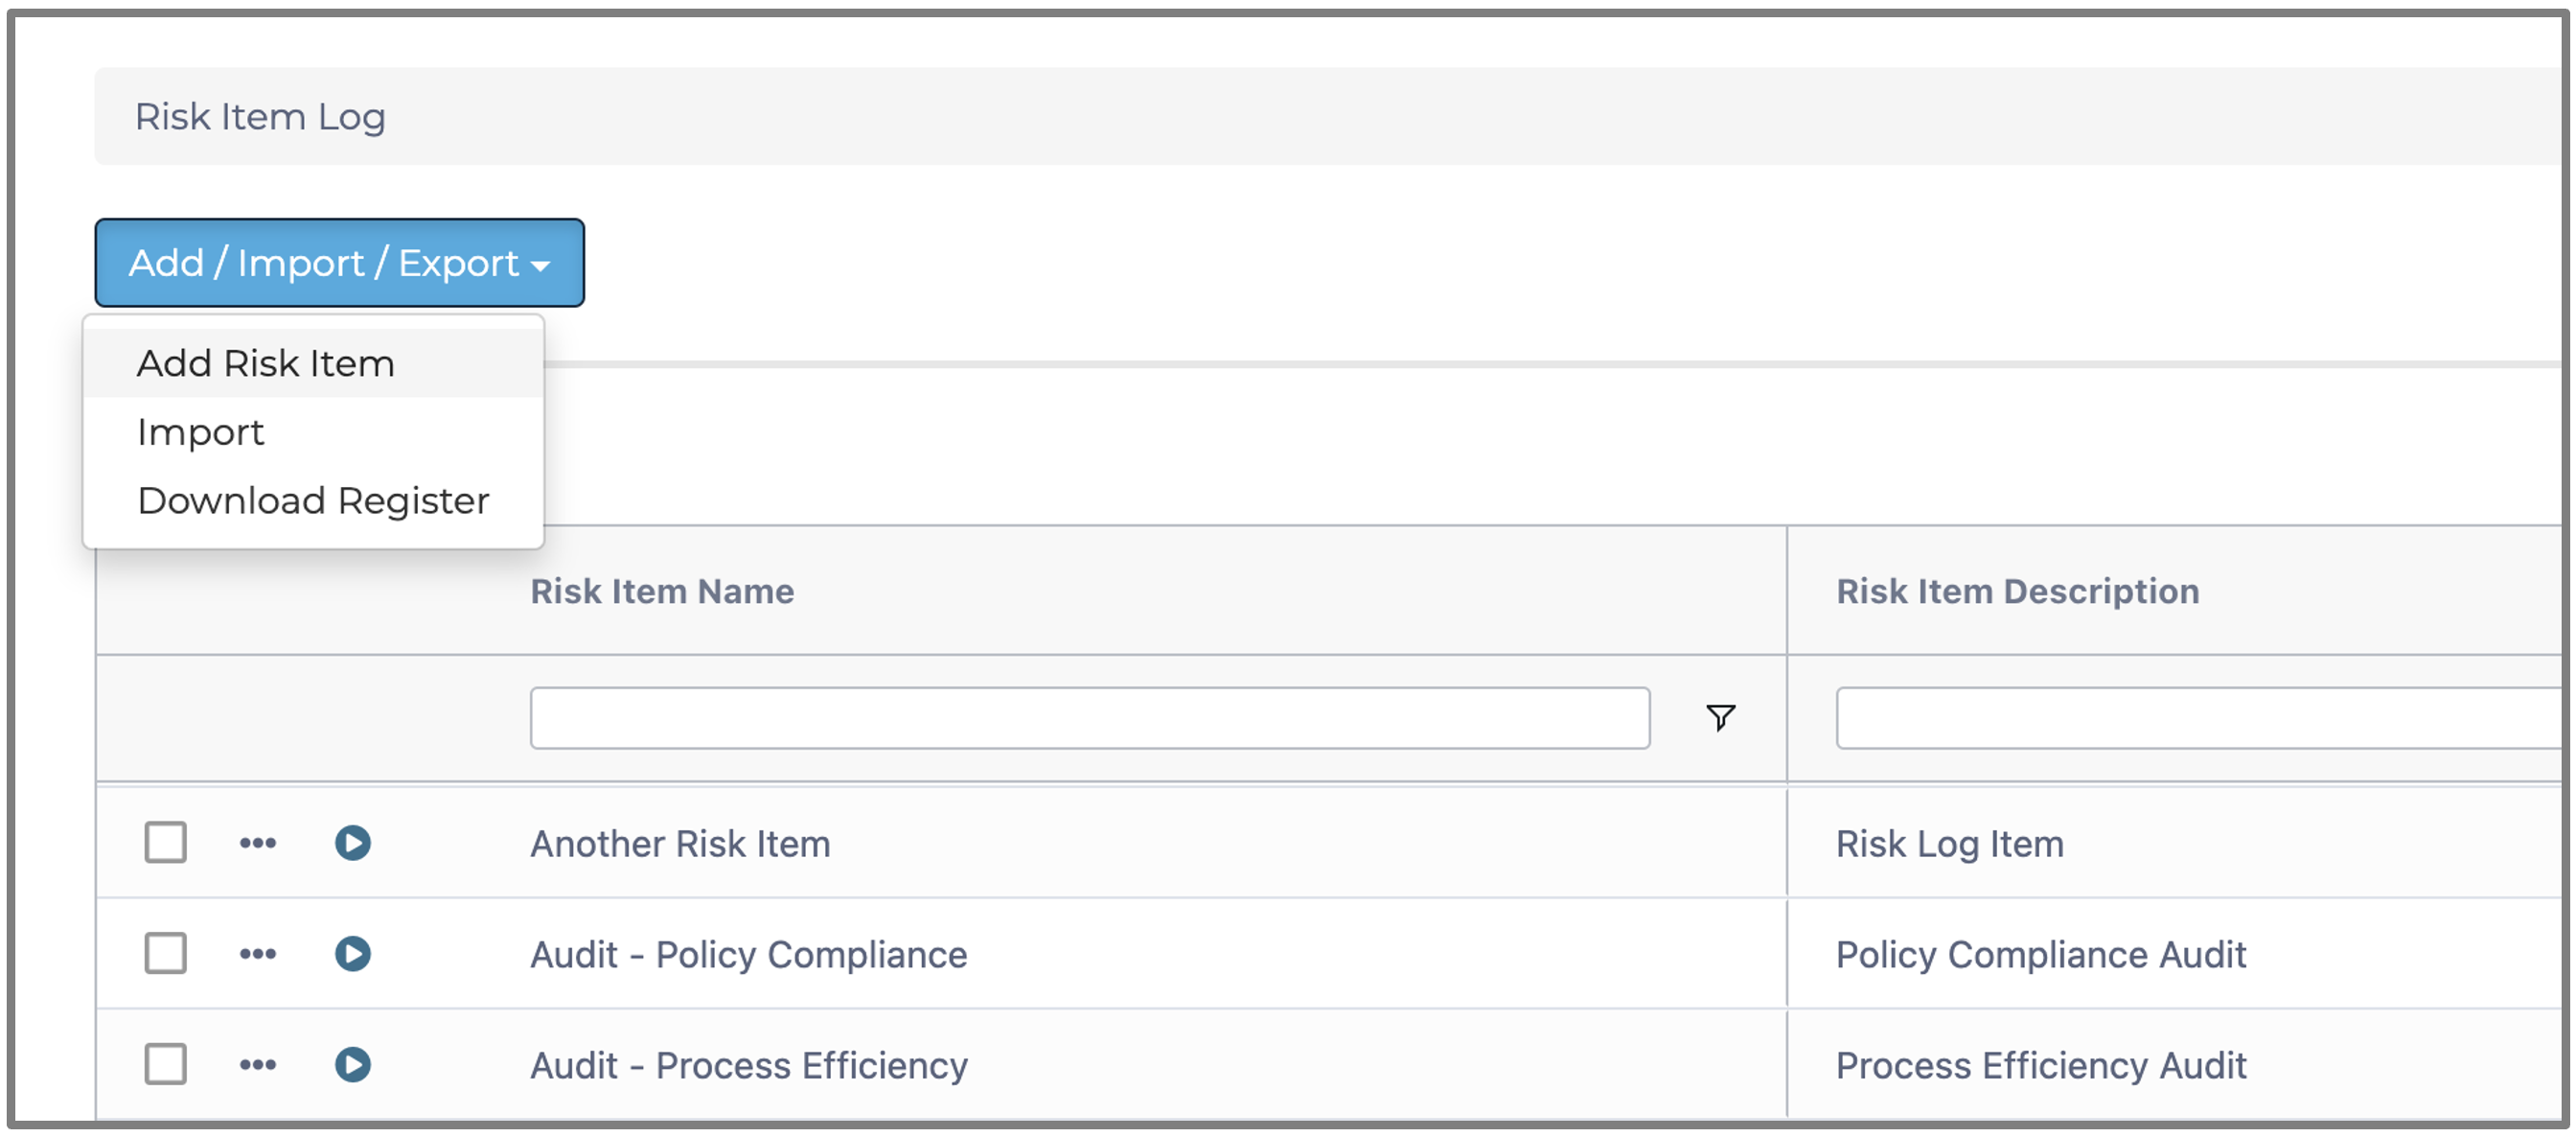
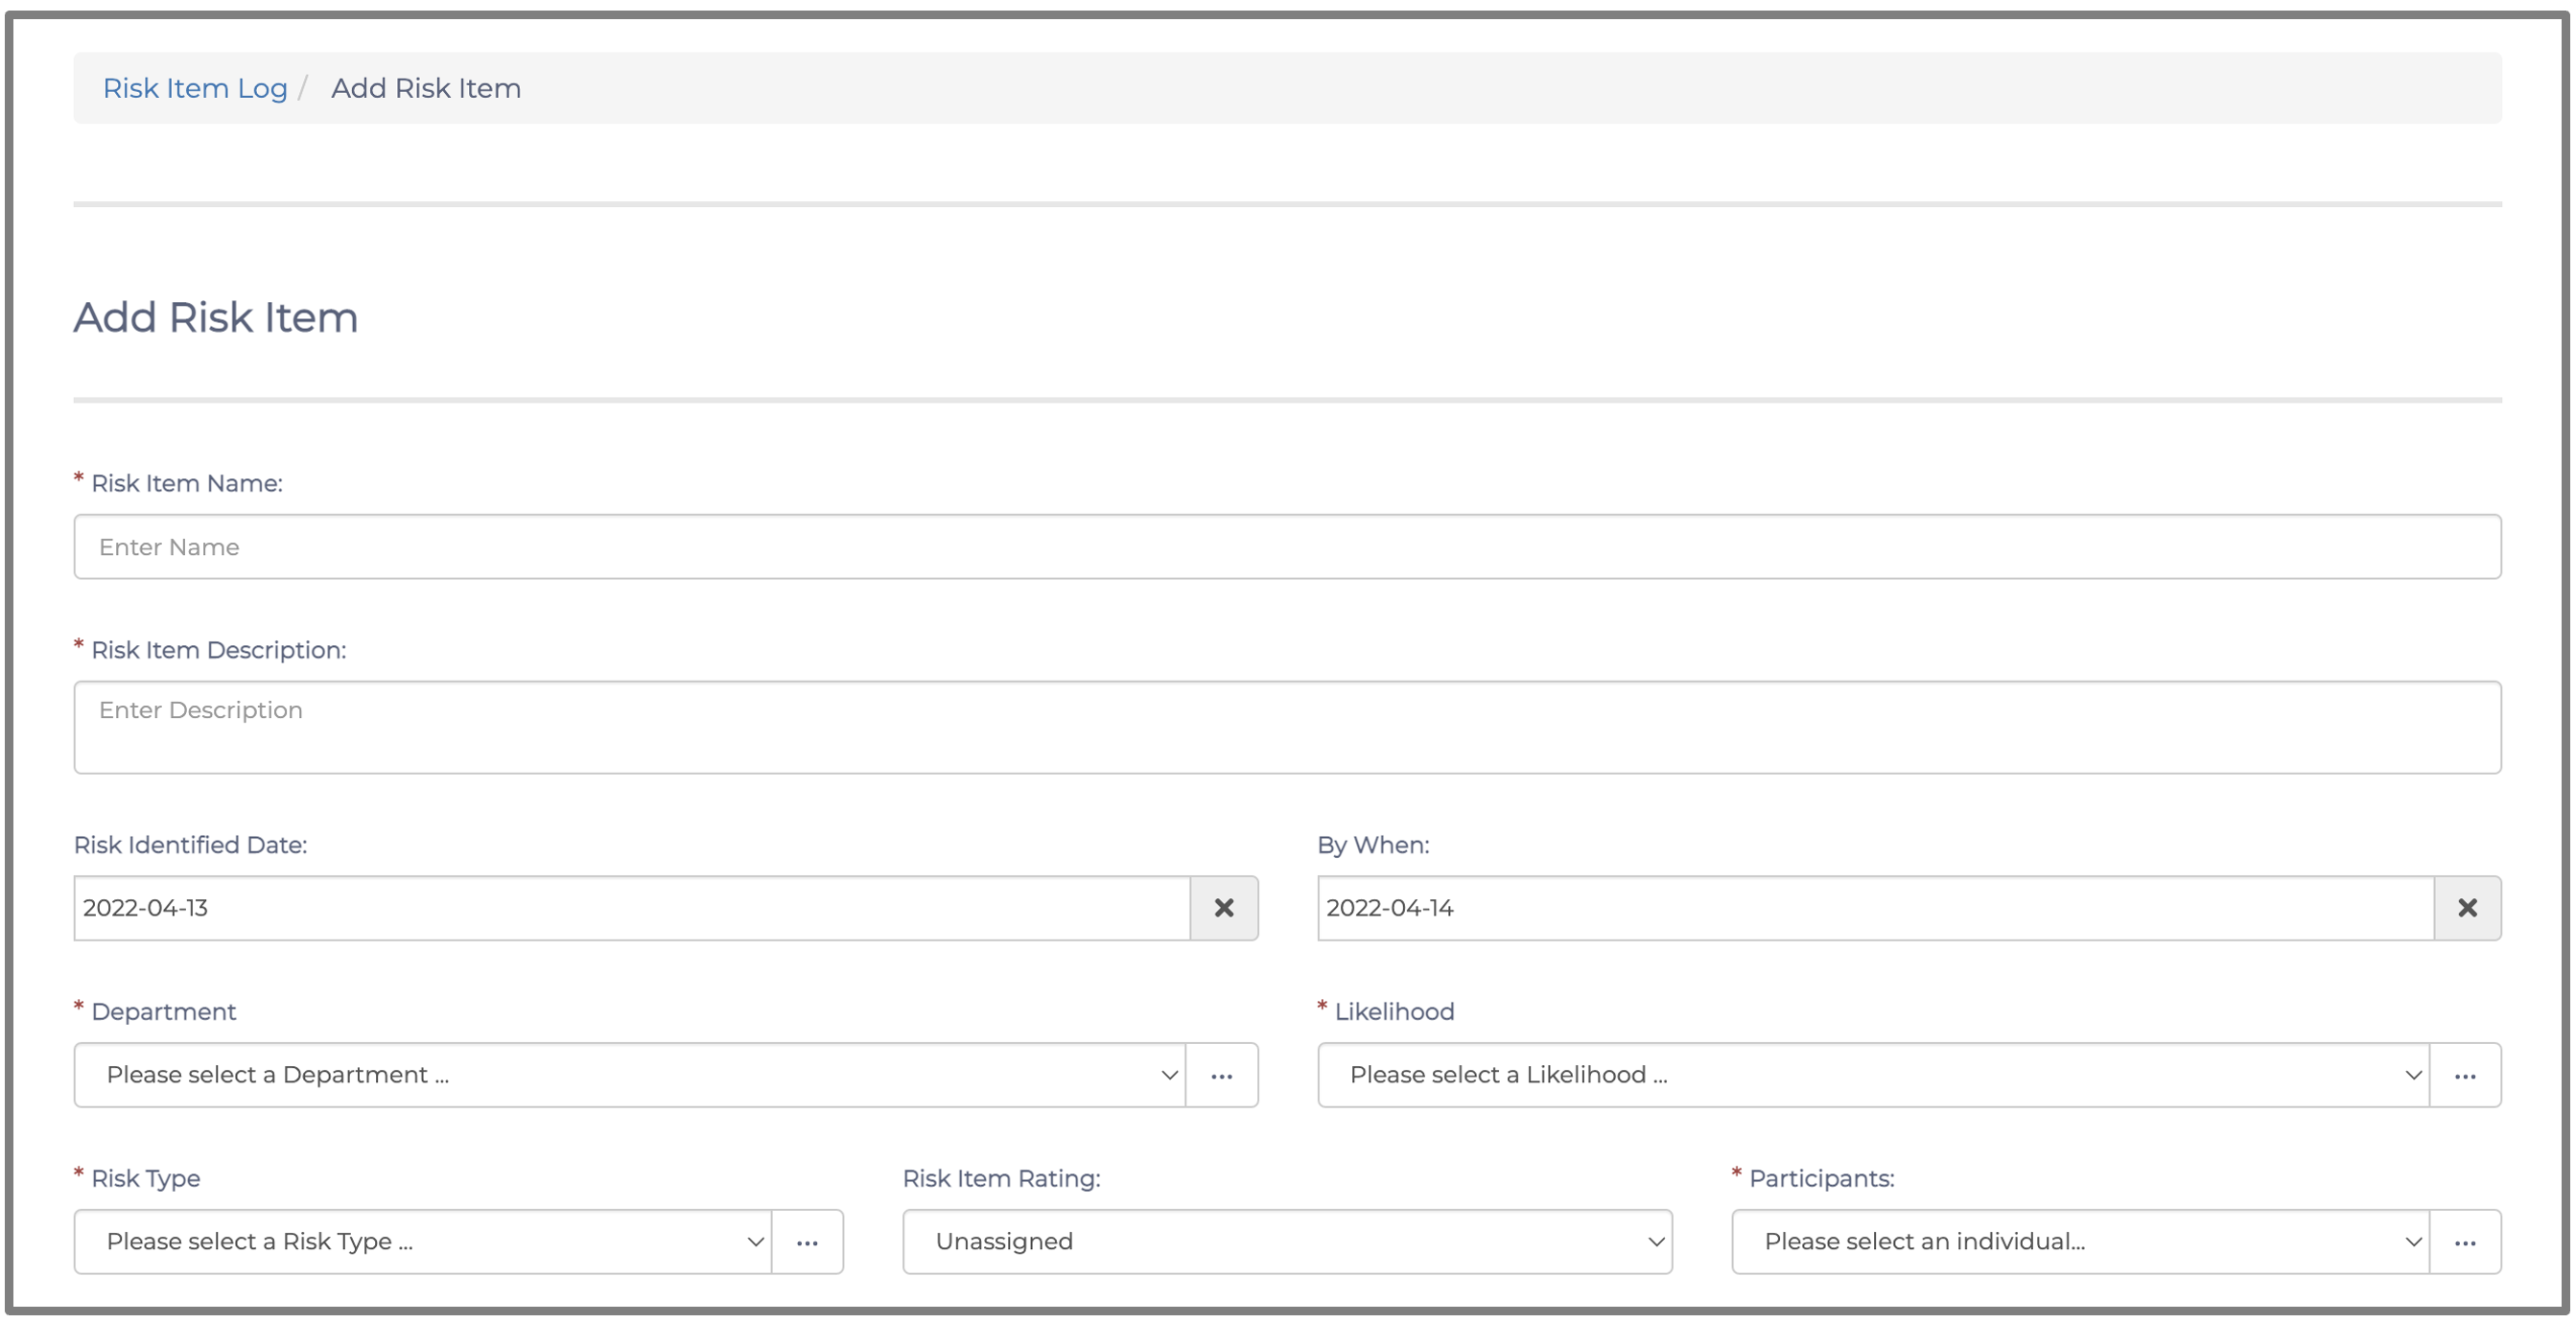
Once you have clicked on 'Add Risk Item', the following screen will appear:
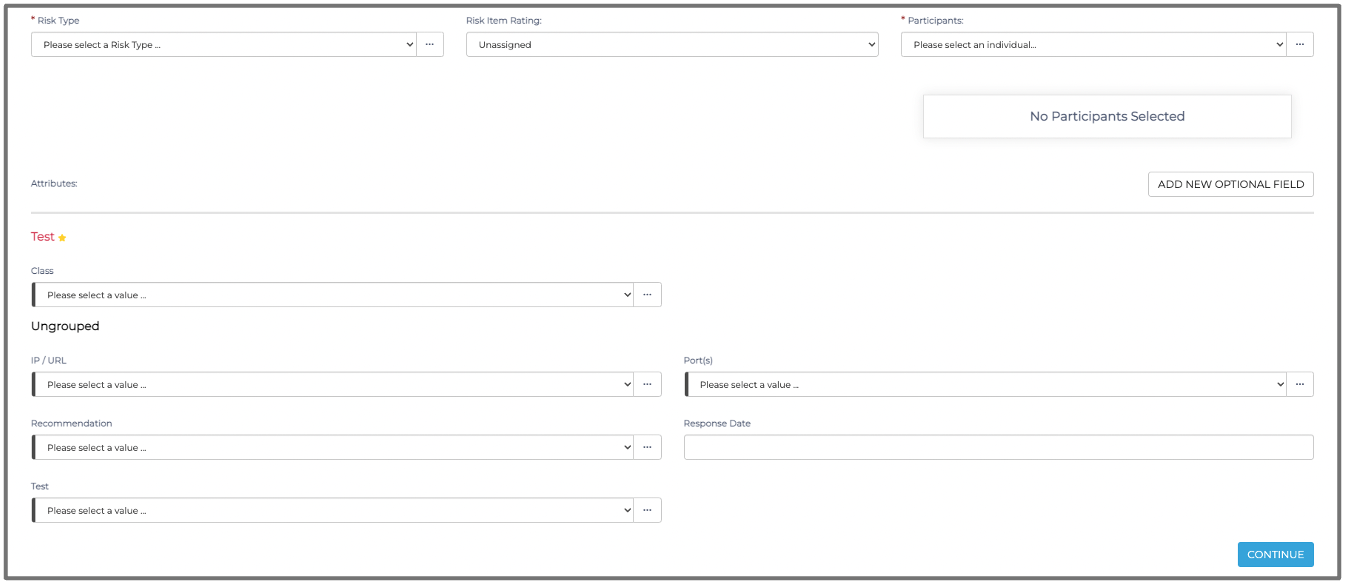
After filling in all of the necessary details, you should click the 'Continue' button at the bottom right, as shown in the below screenshot:
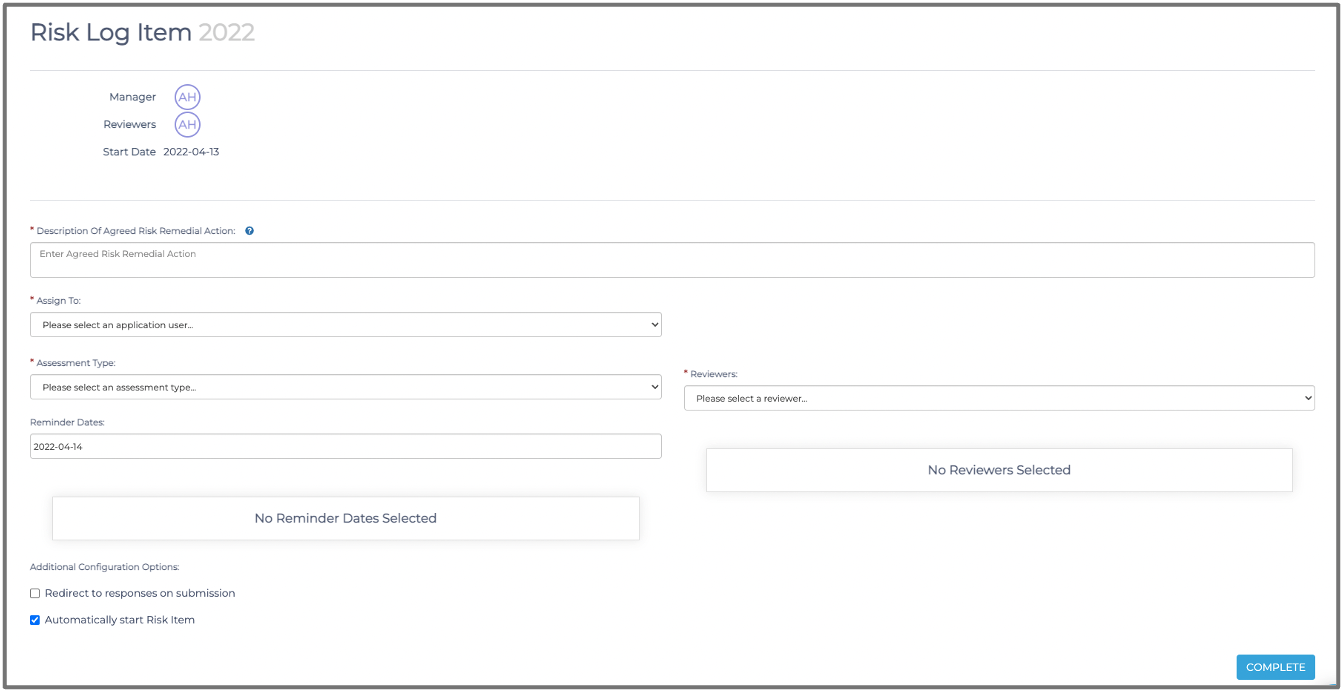
The above action will navigate you to the next screen, where you will assign ownership or the person responsible for the desired risk remediation outcome. After you complete all of the detail required, you should click on the 'Complete' button at the bottom right, as shown in the below screenshot:
In the bottom left corner in the above screenshot, you will find two checkboxes to configure the risk item workflow. Below is the enhanced screenshot:
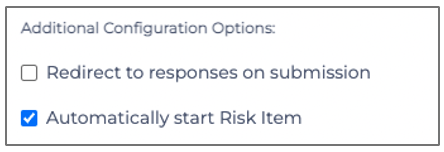
The 'Redirect to responses on submission' checkbox option allows you to redirect to the workflow screen after submitting the assessment.
There are two ways to start your risk item (i.e., send the system generated workflow email to the recipient/s). You can tick the 'Automatically start Risk Item' checkbox, which will automatically begin your risk item when added, or manually start the risk item, which is explained further below.
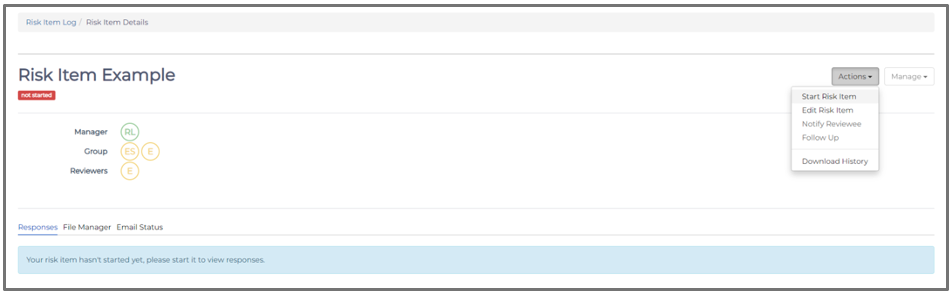
After completing the above step, the system will navigate you to the workflow screen for that risk item. You can initiate the risk item by sending the system generated email to the responsible person. Click on 'Actions' and then on 'Start Risk Item.' The below screenshot shows that screen:
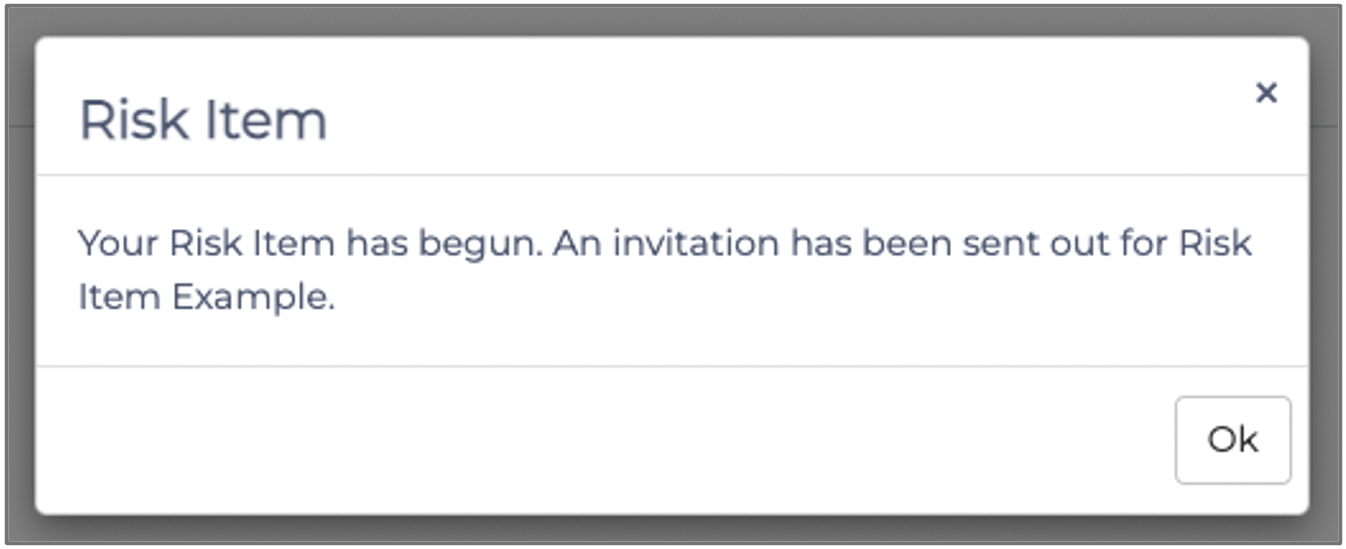
Once you have clicked on 'Start Risk Item', the following notification dialogue box will appear:
After you have sent the risk item to the risk item owner and relevant stakeholders, the next step is for you to review their responses once they submit the assessment.
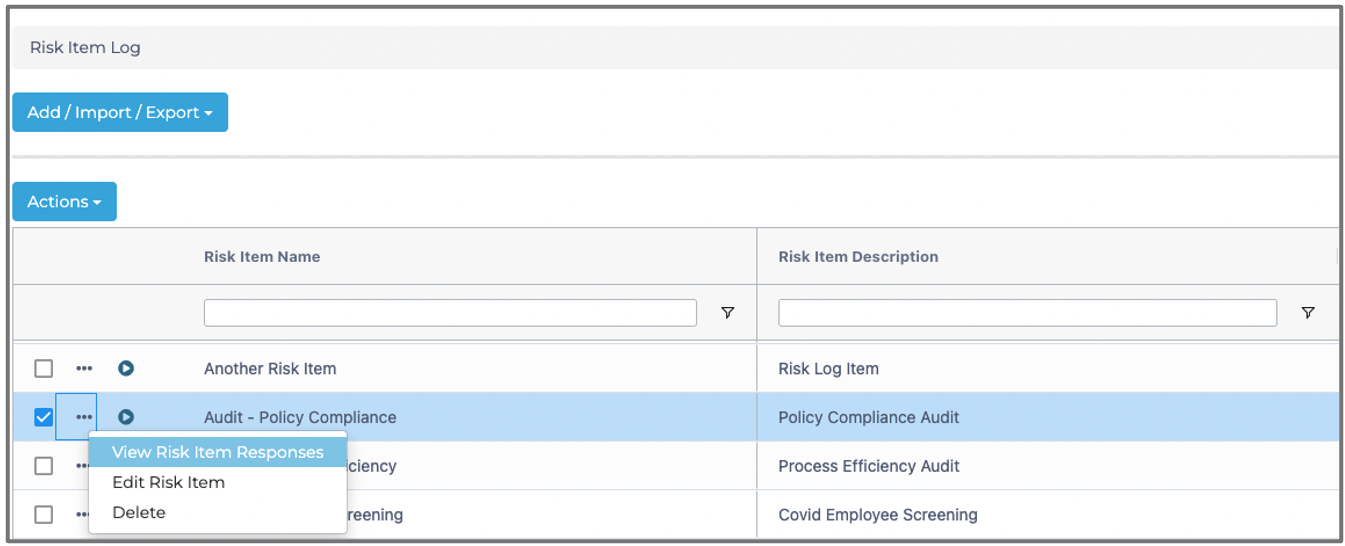
To access the 'Responses' page as the reviewer, click on the risk item in the 'Register' and click on 'View Risk Item Responses' as shown in the below screenshot:
The following screen will appear: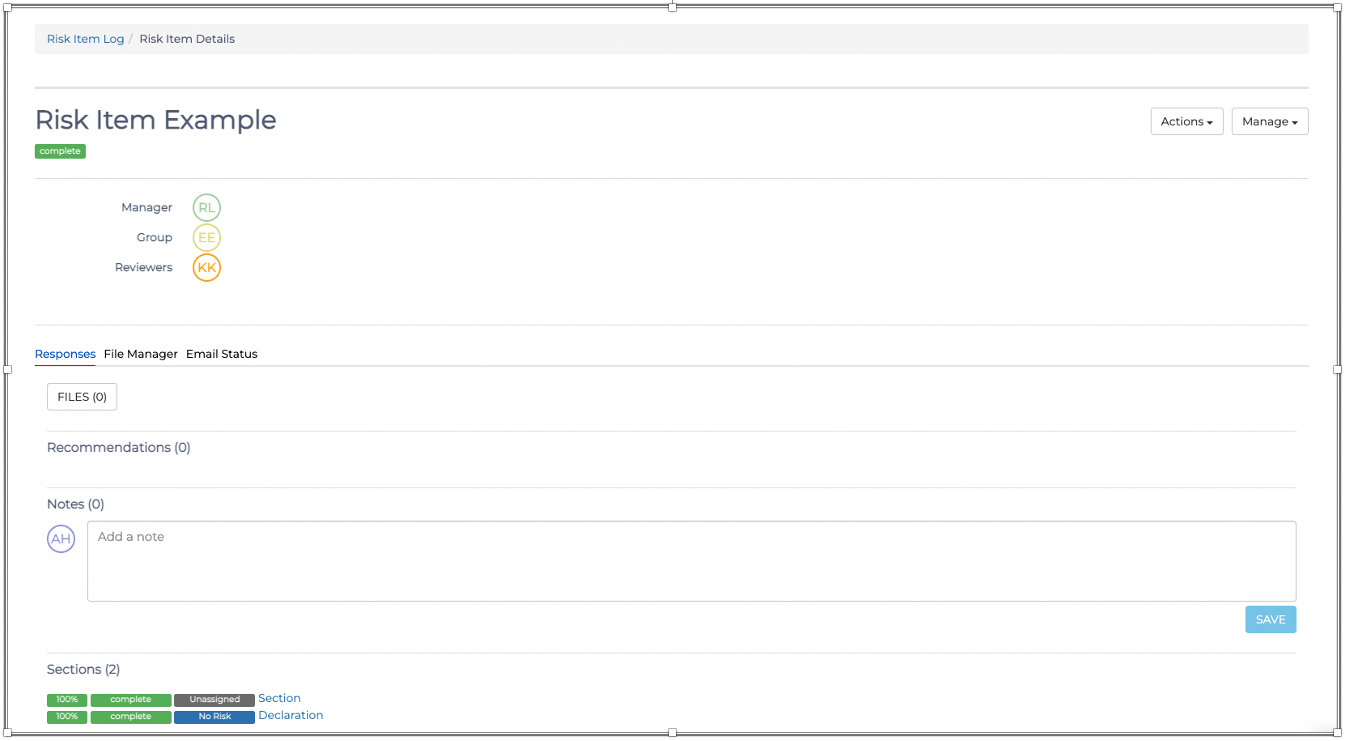
This screen enables you to interact and take action on each response of the risk remediation assessment. You can see an example of this in the below screenshot:
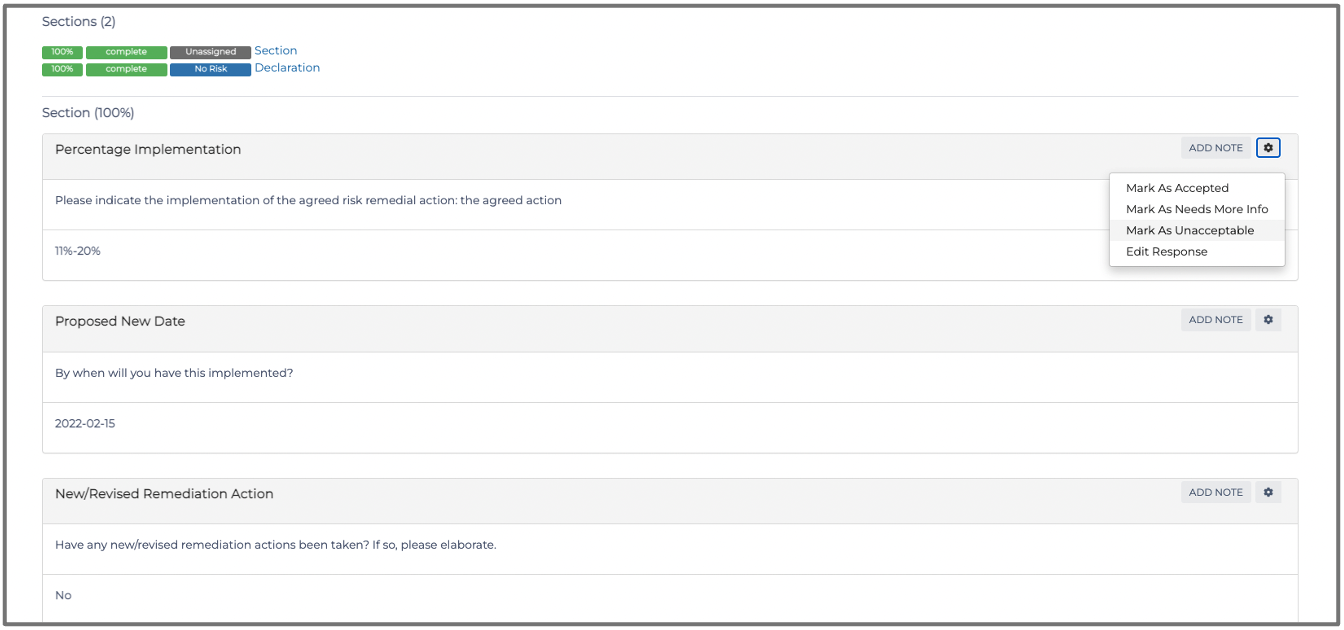
You can go through as many iterations between reviewer and respondee until the responses in the assessment satisfy your risk appetite or risk treatment processes and framework.
You have now successfully added risk remediation management items to the Risk Item Log.
Kindly contact support@phinityrisk.com for any additional assistance required.