This article will take you through the process of adding Optional fields in the Essential Risk Management Solution on the Phinity Platform
Once you have logged into the Phinity Solution and navigated to the Essential Risk Management Solution, you will see the following landing page:
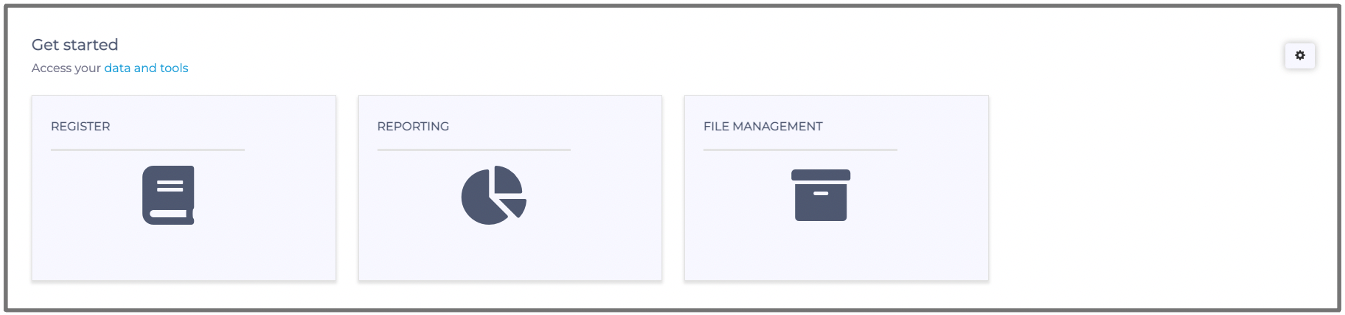
In the below screenshot, you will see the 'Register' icon highlighted:

You should click on the 'Risk Actions' button followed by clicking on the 'Add Risk' button at the top left of the screen, as shown in the below screenshot:
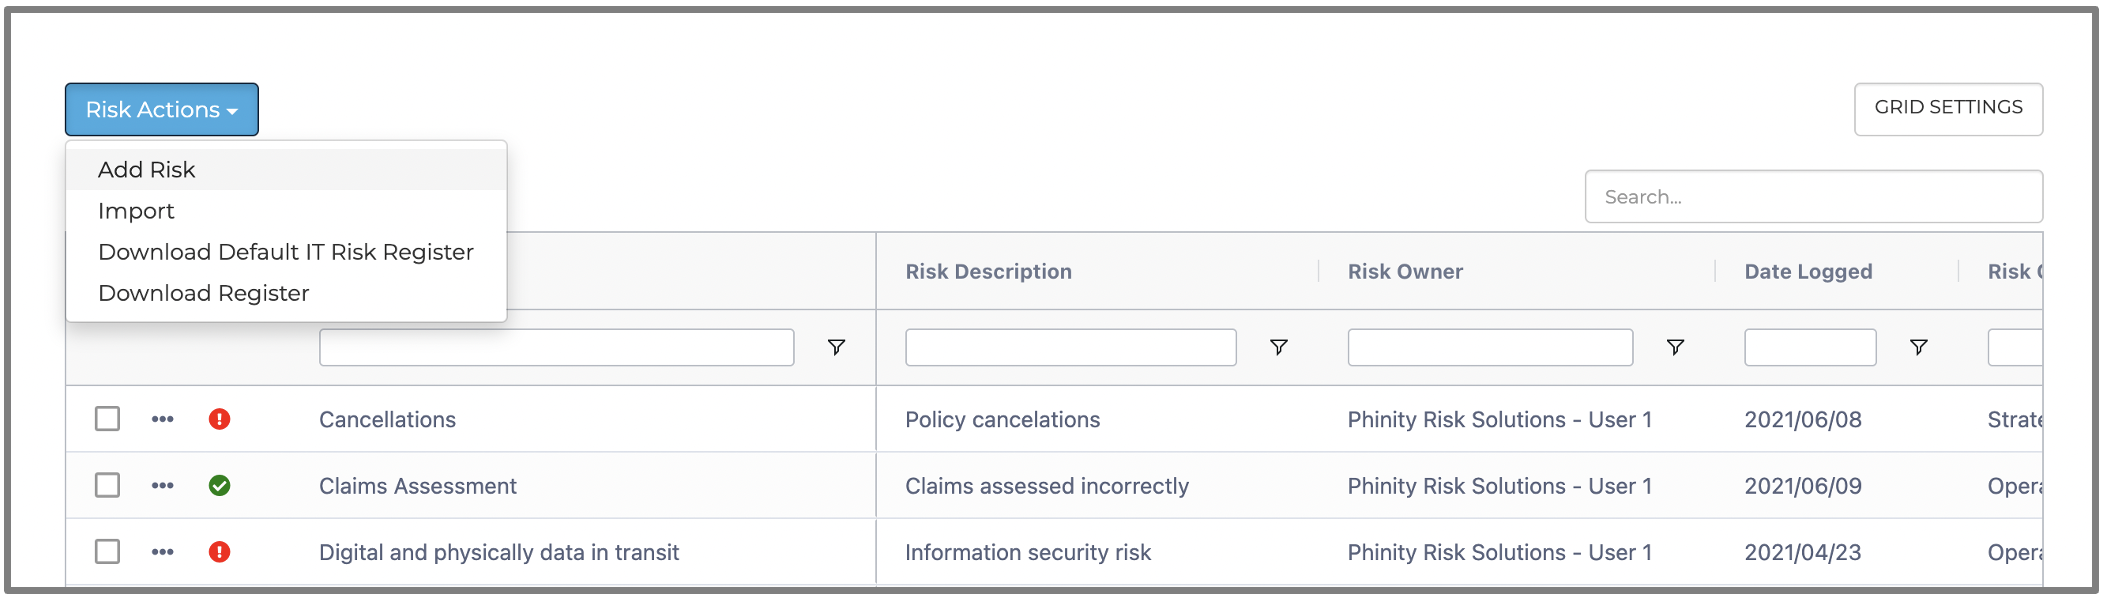
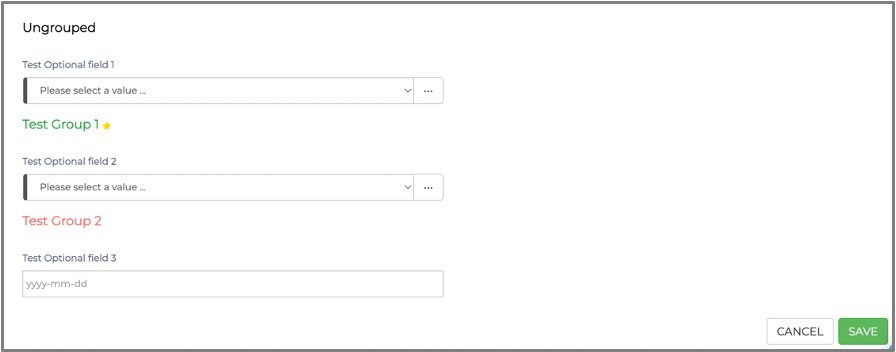
Once you have clicked on 'Add Risk', the following screen will appear:

The 'Control' option under 'Ungrouped' displays samples of custom fields added by a user under “Attributes”. You can customise your fields to suit the information you require.
To add an optional field, you would like on the 'Add Optional Field' button.

Once you click on the 'Add Optional Field' button, you will be directed to the below screen:

You will complete the required information below:
- Description - Optional Fields Display Name
- Optional field type - You can choose one of three different optional field types depending on how you will use this field (e.g., Text, Date, and Dropdown).
- Placeholder Name - Create a placeholder name to use the value in other areas of the platform by pulling through its data via the placeholder name you have created. (This is not required to be answered. It is optional)
Once you have completed all the information, you can click "Ok" and your optional field will have been created. However, you can add a Create/Set Group to each optional field.
The Create/Set Group button allows you to change the colours of each optional field value as per your liking if you choose the dropdown optional field type. It also grants you the ability to group various optional fields.

If you would like to add a Group, you will click on the 'Create/Set Group' button before saving your optional field, which will direct you to the below screen:
As you can see, there are currently no Groups available. You will now click the 'New Group' button to add a new group.
Once you click the 'New Group' button, you will be directed to the below screen:
You can now give your Group a name and choose a colour for the Optional field Group name. If it is an important optional field, you can click the checkbox next to 'Is Important:', there will be a star next to the group name, which will flag the optional field as necessary.
Once you have completed the above page, click the "Save" button. You will be directed to the below screen, which will show that your group changed:
You will then click the 'Ok' button, and your Group settings will be saved and shown as per the below screen:

If you add another optional field but would like to add it to the same group, you will run through the same process. Still, instead of creating a new group, you will see your current group as it will show under Groups as an option. You can now click on it and follow it by clicking the 'Ok' button to save your new optional field to that group.


The 'Clear Group' button would remove the Group settings from the optional field. However, you will need to make sure after you click the 'Clear Group' button you follow it by clicking the 'Ok' button to make sure your changes are saved.
Once you have saved your changes the optional field will be Ungrouped as per the below screen:
You can add multiple optional fields to different Groups, and you can add numerous Groups to various optional fields. You will just run through the same process to add a new group per the above examples.
If you added an optional field as a dropdown, you could add colours to the values on the dropdown.
First, you would need to add a value to your dropdown.
To add a value to your dropdown, you would click on the three dots on the right hand side of your optional field value box:
You will then click on the 'Add Value' button as shown below:

You will now give your value a name and colour. 
You will then click the 'OK' button and be directed to the below screen:

The moment you click on that value, your colour should show on the left hand side of the optional field value box.
You can add multiple values with the four different colour options presented. When you select any value, it should show the colours you set it to be. You can also change the values name or colour by clicking on the three dots on the right side of your optional field value box and following it by clicking the "Edit Value" button. 
Once you have saved all your optional fields you will be able to use them in every risk you add to the platform.
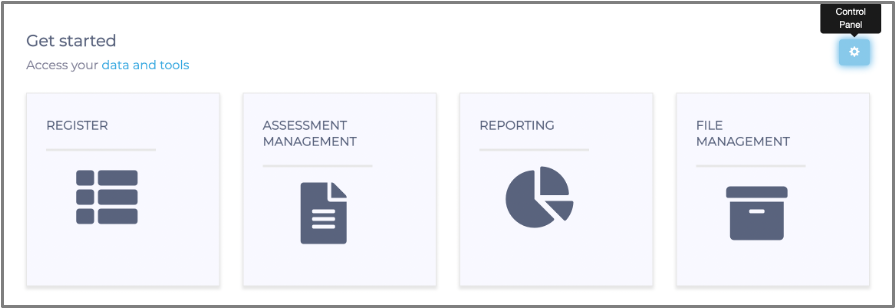
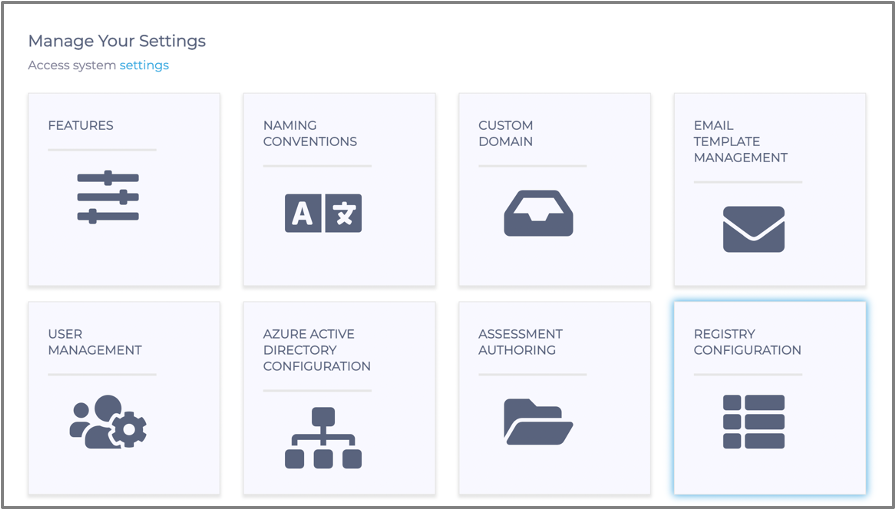
If you would like to delete an optional field you would navigate to the welcome page and click on the cogwheel, as seen in the below screenshot:
You will then click on the 'Registry Configuration tile', as shown below screenshot:
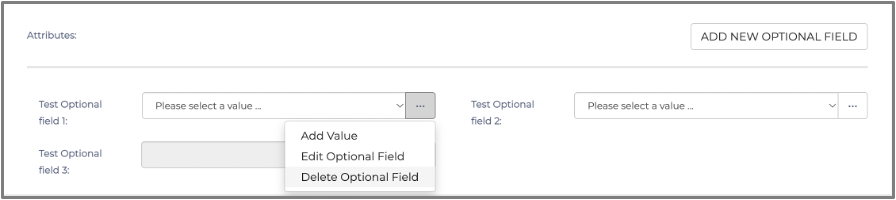
You will then scroll down to the 'Attributes' section, and click on the three dots on the right side of your optional field value box you would like to delete. You will then have the delete optional field button available.
Once you click the "Delete Optional Field" button a confirmation dialog will pop up.

You can now click 'Ok' and your optional field will be deleted.
You have now successfully added new optional fields to the add risk page in the Essential Risk Management Solution on the Phinity Platform.
Kindly contact support@phinityrisk.com for any additional assistance required.