This article will take you through the process of adding Assessment Groups in the Essential Risk Management Solution on the Phinity Platform
Once you have logged into the Phinity Platform and navigated to the Enterprise Risk Management Solution, you will be directed to the Welcome screen.
On the welcome screen, you will click the 'Assessment Management' tile highlighted below: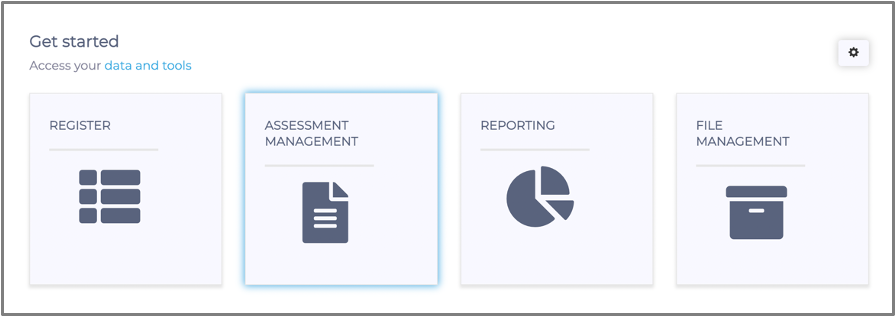
You will be directed to the 'Managing your Assessment' page where you will click on the 'Assessment Groups' tile, as shown in the below screenshot:

Once you click the 'Assessment Groups' tile you will be directed to the below screen: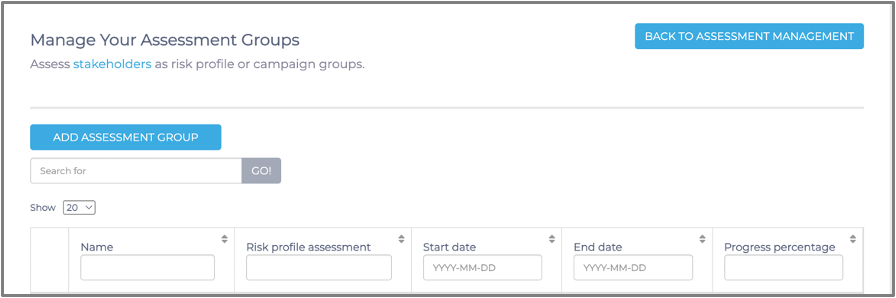
You will then continue by clicking the 'Add Assessment Group' button which will direct you to the below screen:
Complete the required fields on the 'Assessment Group' page. The purpose of this process is to identify the Risks that require a severity rating, as well as alert the individuals responsible for seeing this process complete.
Once you have made sure all the details of the assessment group are correct, you should click the 'Save' button. Once this is done, you should be able to view your newly created assessment group in the register.
You have now successfully added an Assessment Group in the Essential Risk Management Solution on the Phinity Platform.
Kindly contact support@phinityrisk.com for any additional assistance required