This article will take you through the process of adding Risks in the Essential Risk Management Solution on the Phinity Platform
Once you have logged into the Phinity Solution and navigated to the Essential Risk Management Solution, you will see the following landing page:
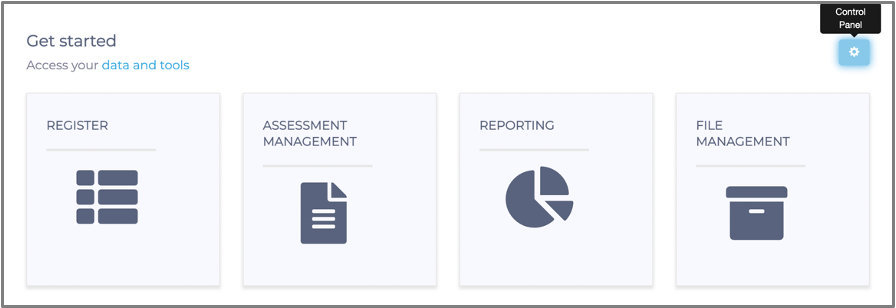
You need to navigate to the Register view to add or import any risks to the risk register. In the below screenshot, you will click the 'Register' tile highlighted:
Below is a screenshot example of what the Risk Register might look like after you have already started adding and tracking some risk items: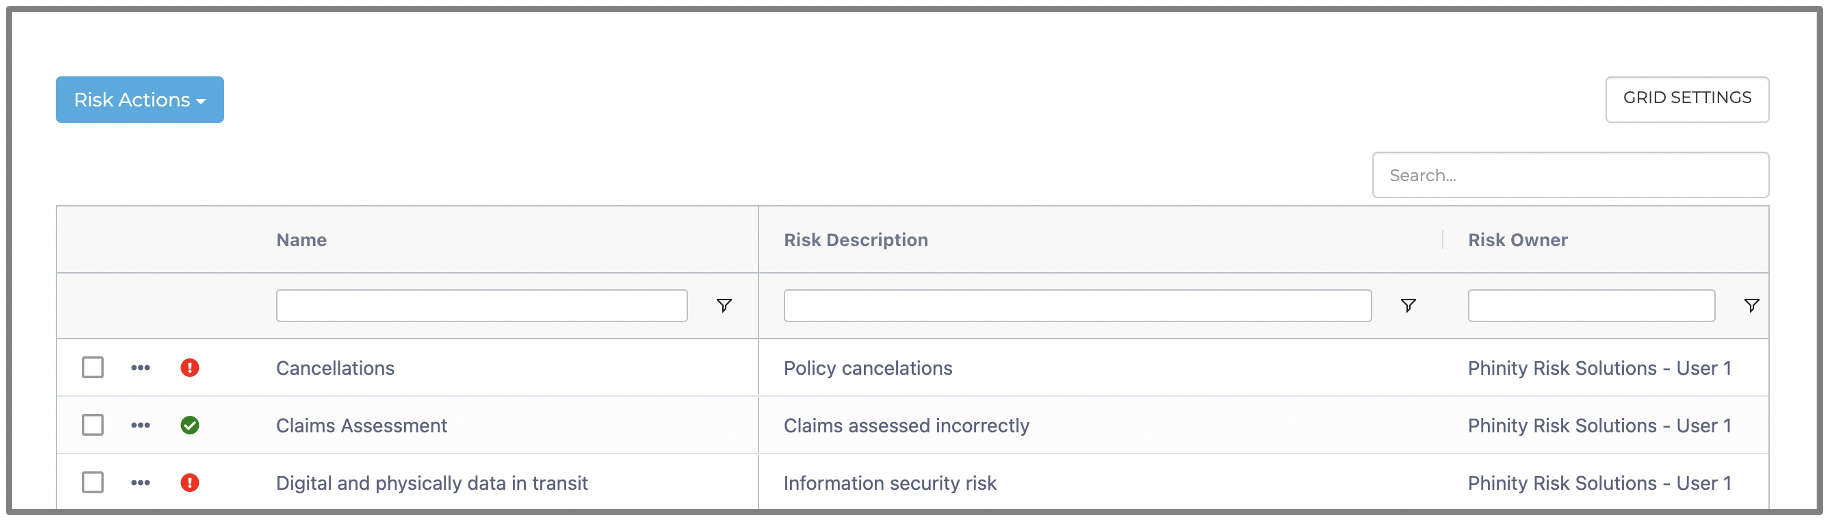
To add more or even your first risk, you should click on the 'Risk Actions' button at the top left of the screen, as shown in the below screenshot: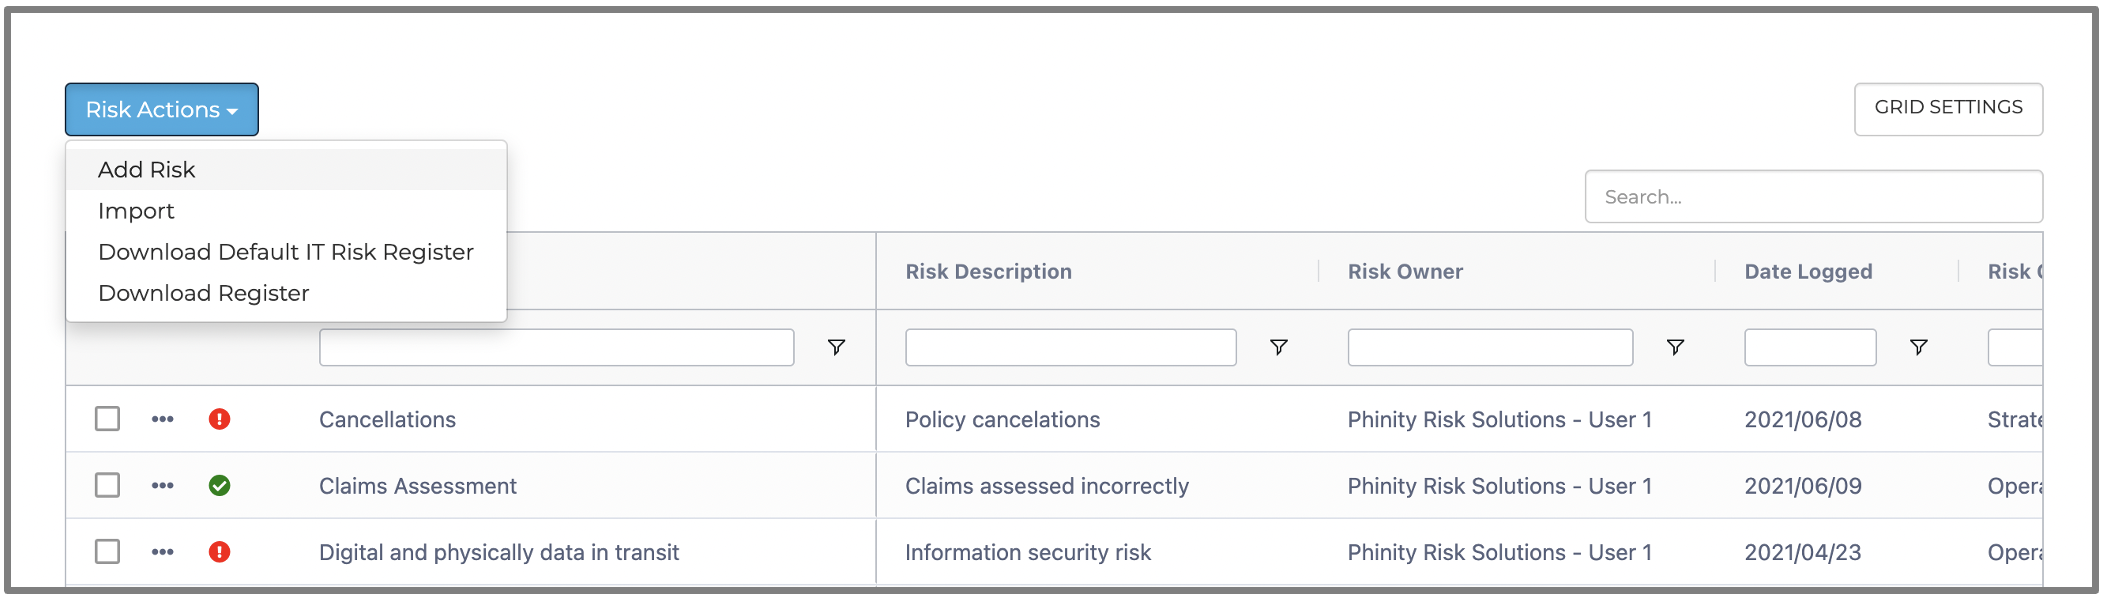
Once you have clicked on 'Add Risk', the following screen will appear: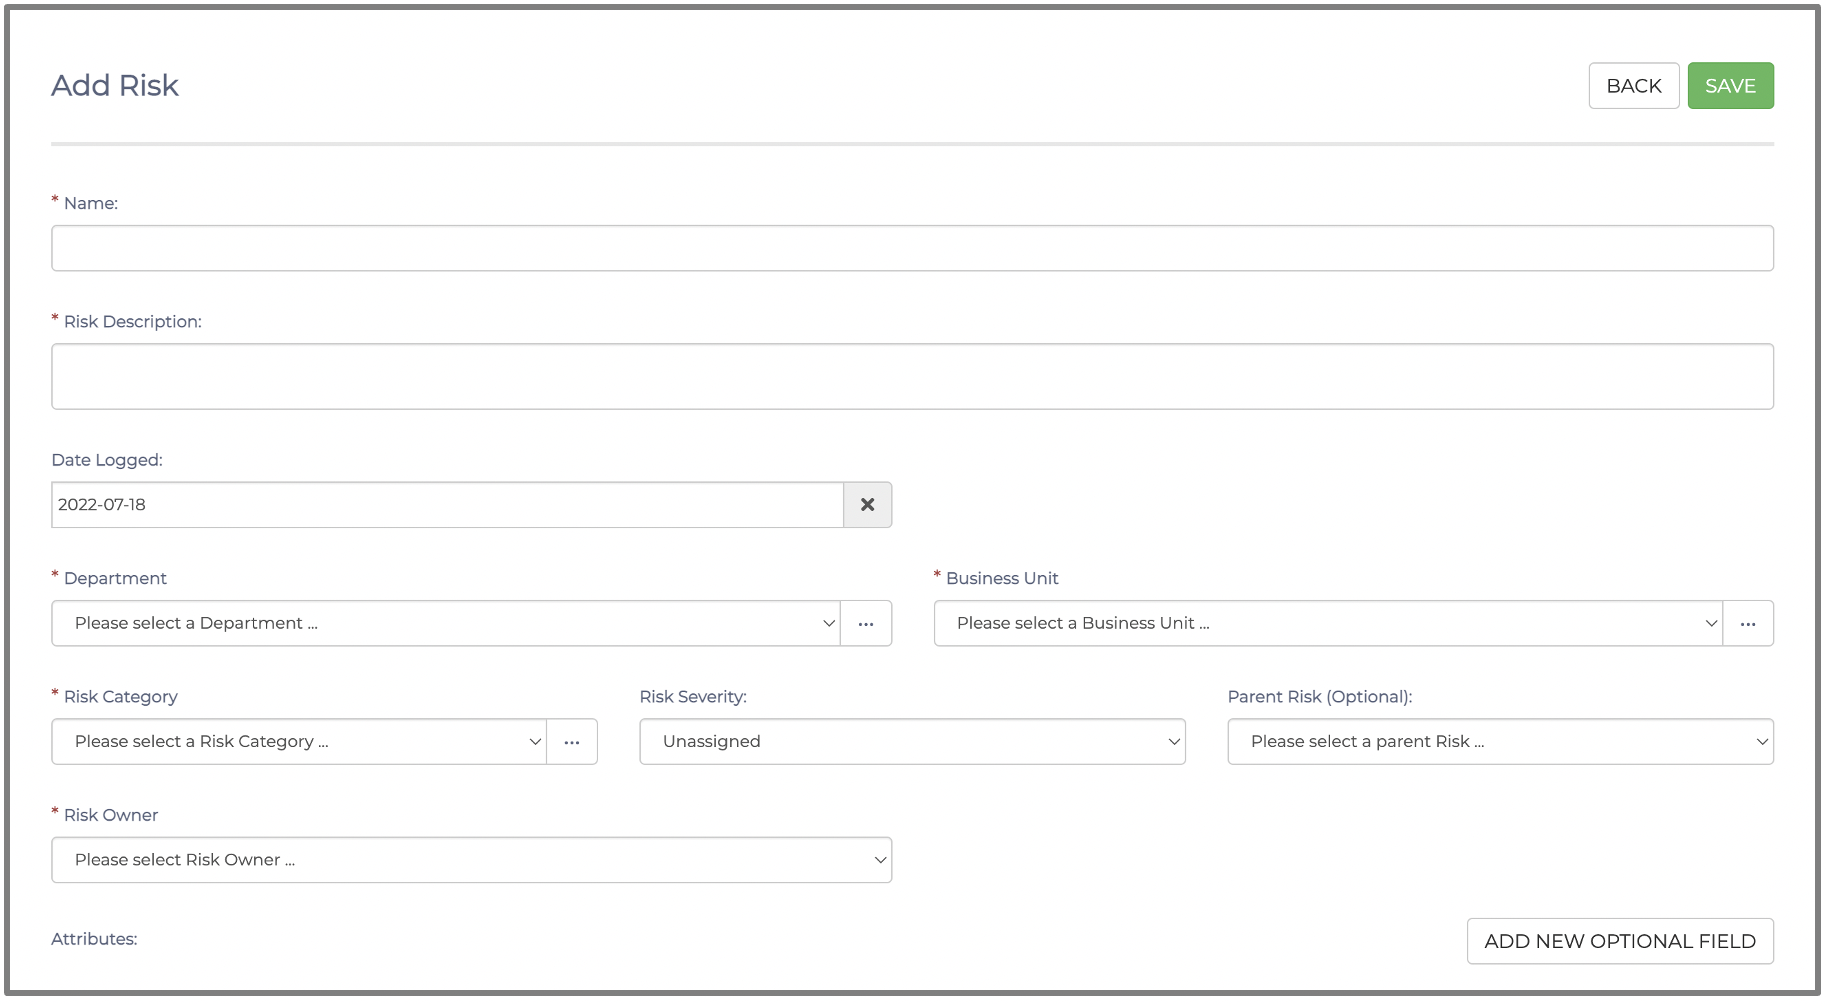
The Risk Register allows you to enter, store and manage all relevant information about your businesses Risks. The type of information stored is customisable. However, there are some mandatory fields that you need to complete (e.g. Risk Name, Start Date, etc.).
From the “Risk Register” page, a user can:
- Add, edit or delete a Risk.
Click the “Add Risk” button.
- Name – Legal Entity Name.
- Risk Description - Description of the Risk you adding.
- Department - Department describes the business area/unit in your organisation which consumes the services or owns the relationship with the Risk (Human Resources, Legal, Procurement, etc.).
- Date Logged - The day you log the Risk
- Business Unit - Unit within the department using the Risks services.
- Risk Category – Type of service that the Risk will be providing (e.g. Operational, Strategic, and Tactical etc.).
- Risk Severity - The extent of the damage the Risk caused (e.g. Severe, Major, Moderate, Minor, and No Risk).
- Parent Risk - To whom the current risk is associated with.
- Risk Owner - The person who is responsible for the risk.
When adding a new Risk, please complete all mandatory fields & click save.

The 'Control' option under 'Ungrouped' displays samples of custom fields added by a user under “Attributes”. You can customise your own fields to suit the information you require, this process can be found in the following article: Click here
Once the 'Saved' button has been clicked you should be navigated back to the Risk Register where you will find your newly added risk.
You have now successfully added a New Risk to the Risk Register in the Essential Risk Management Solution on the Phinity Platform.
Kindly contact support@phinityrisk.com for any additional assistance required.